
Crochet workshop pattern
This is the pattern that you’ll need during the second part of the crochet workshop that ACCIE organises on Thursday, May 25th. Good luck and happy crocheting!
———
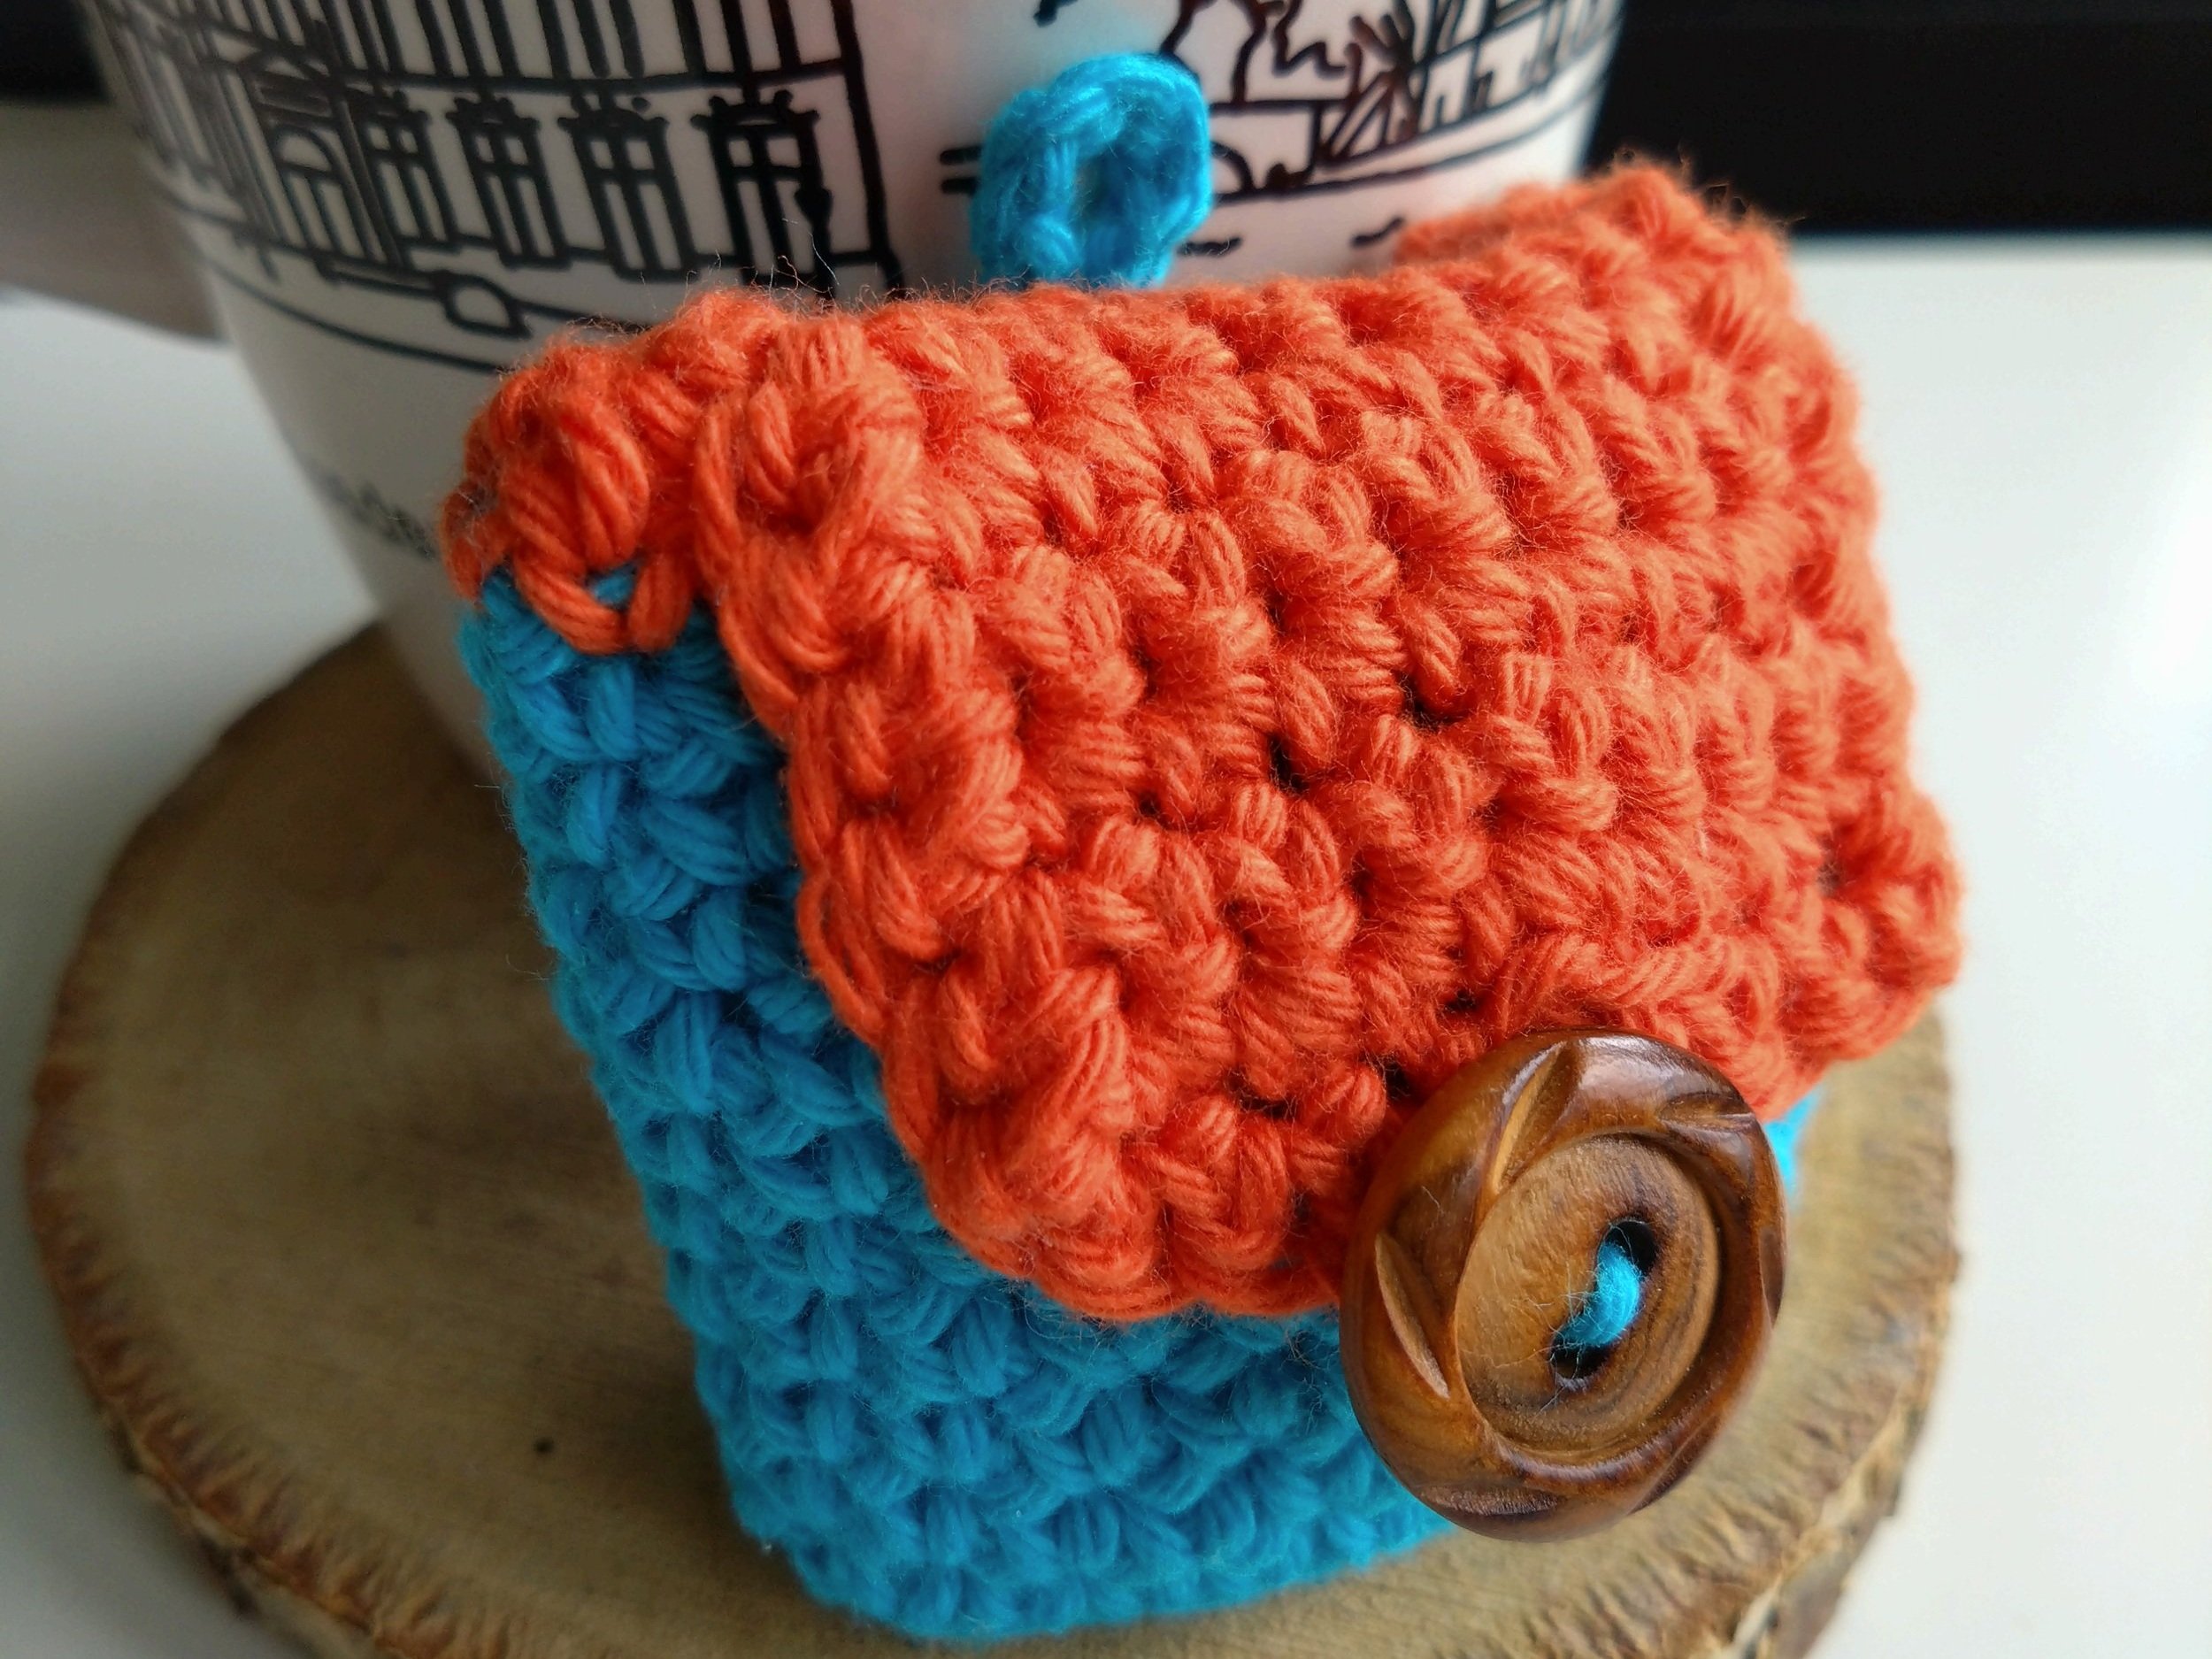
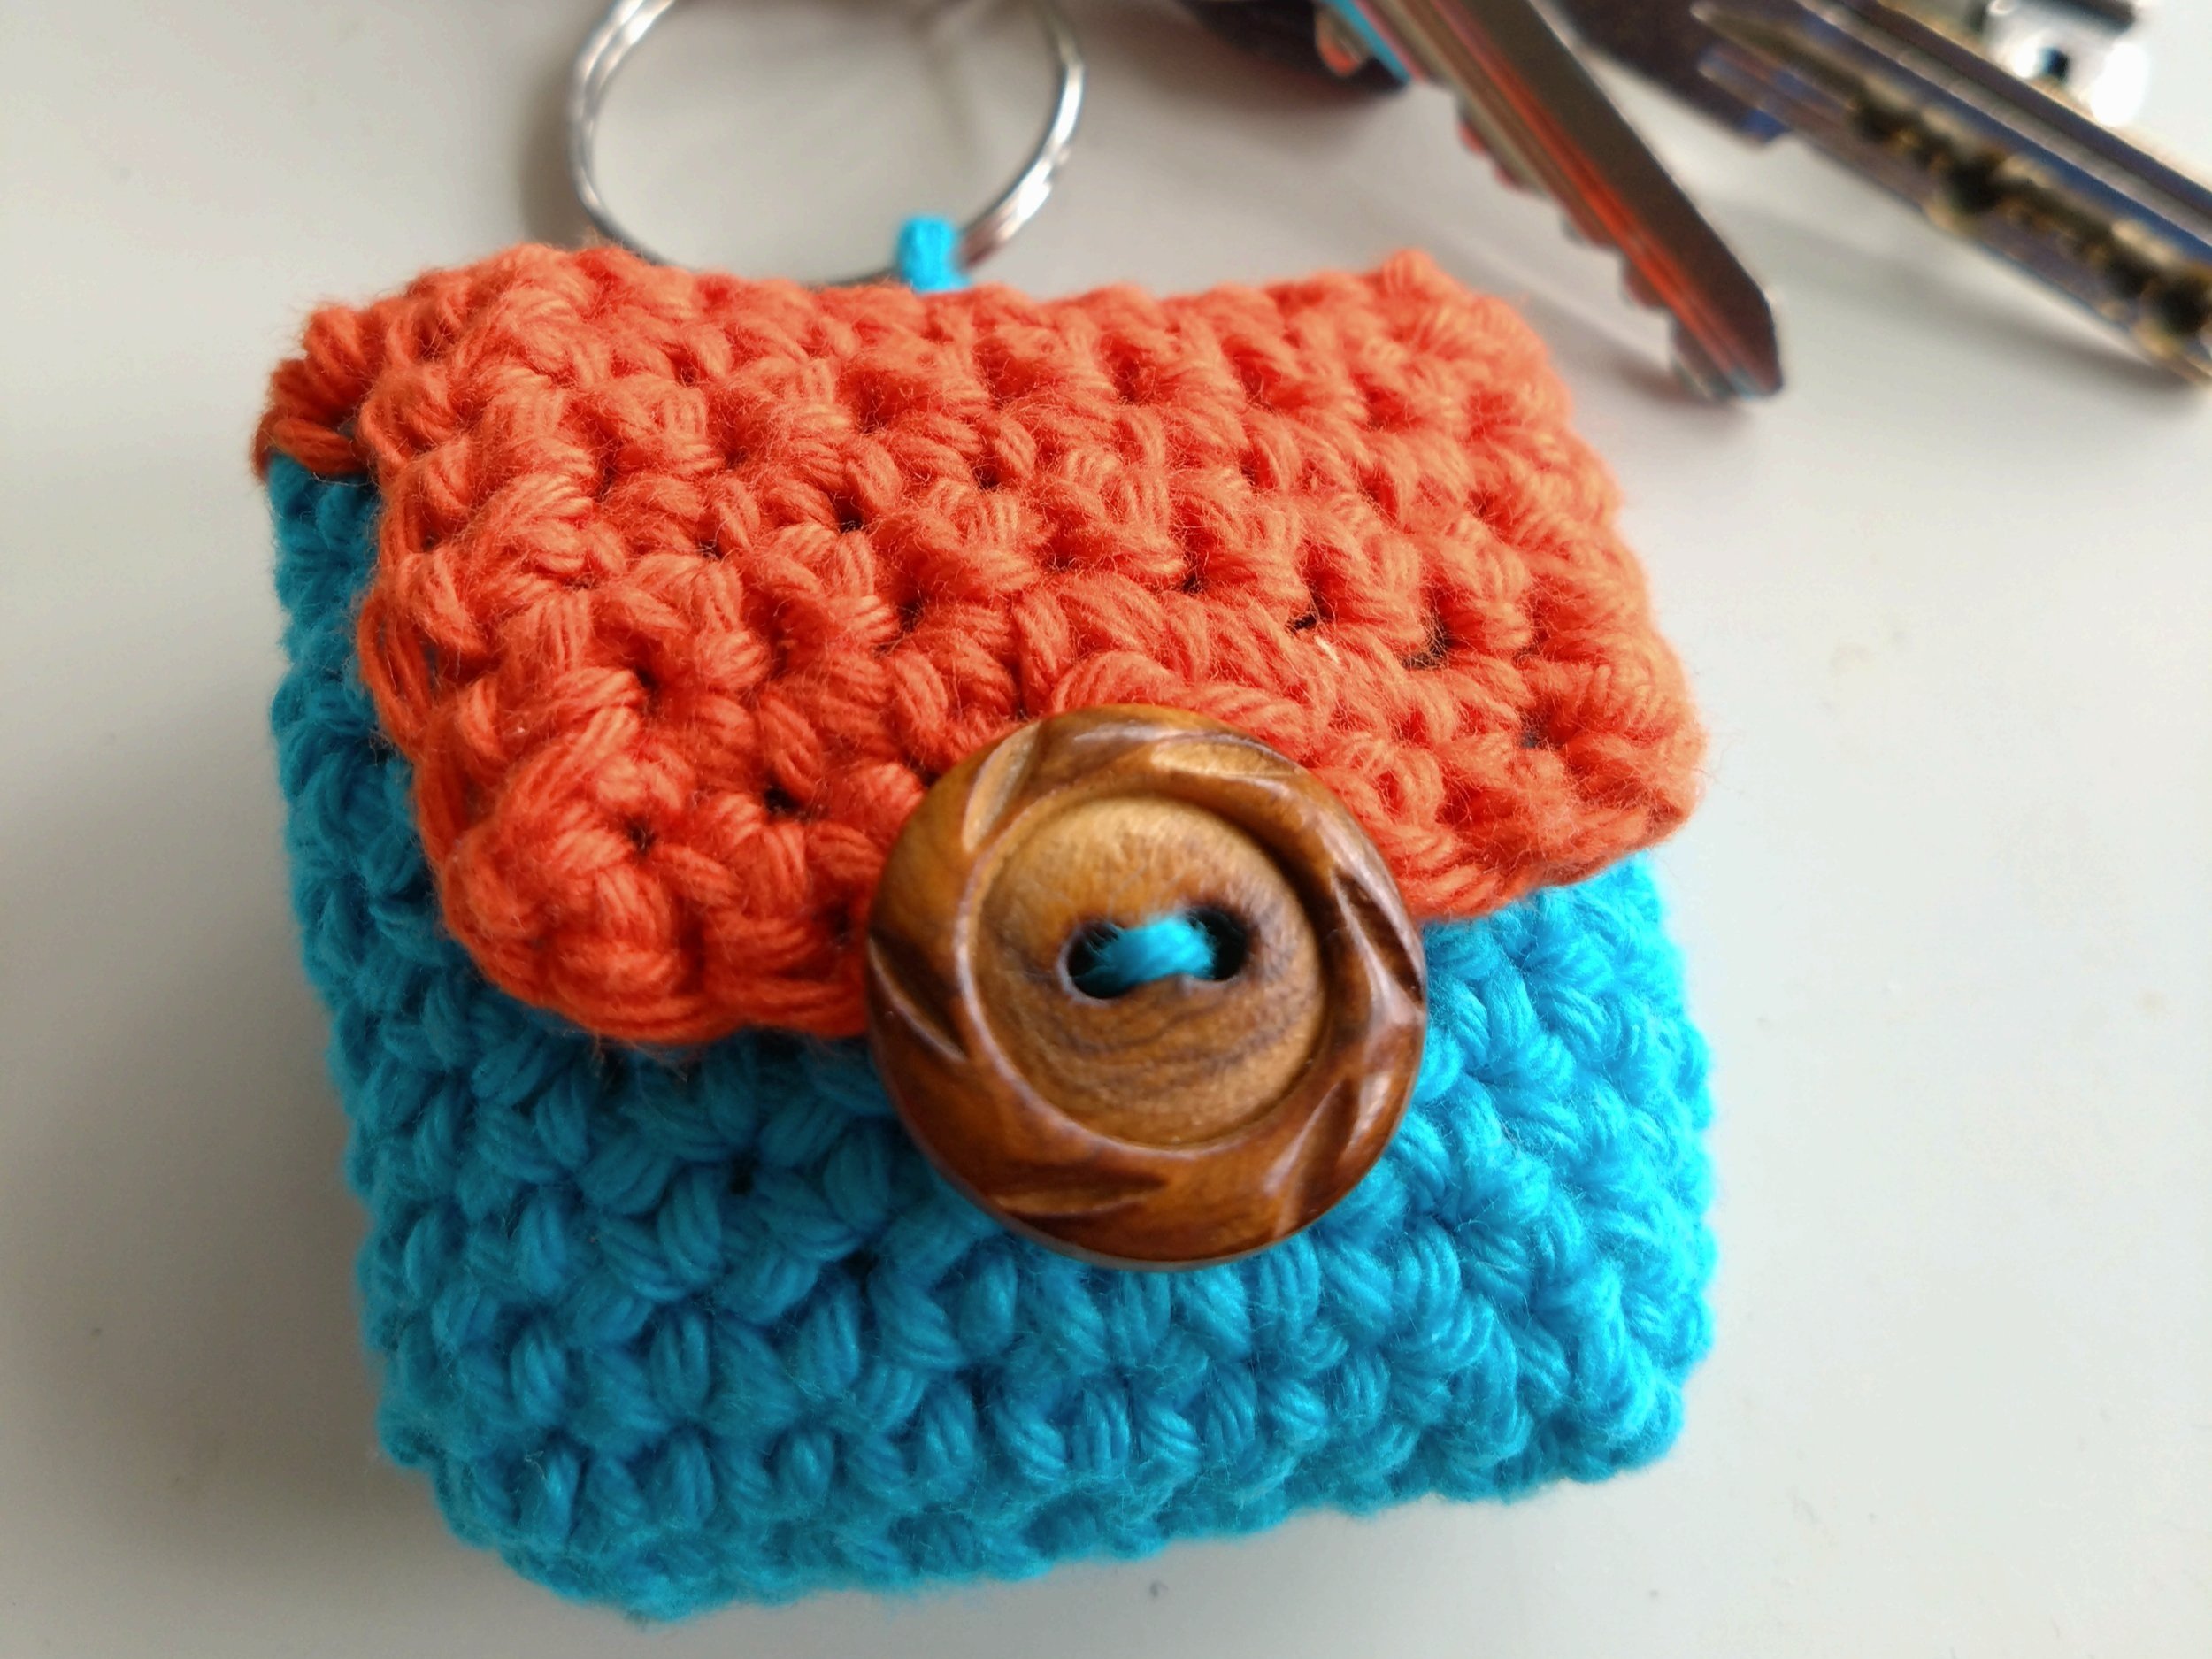
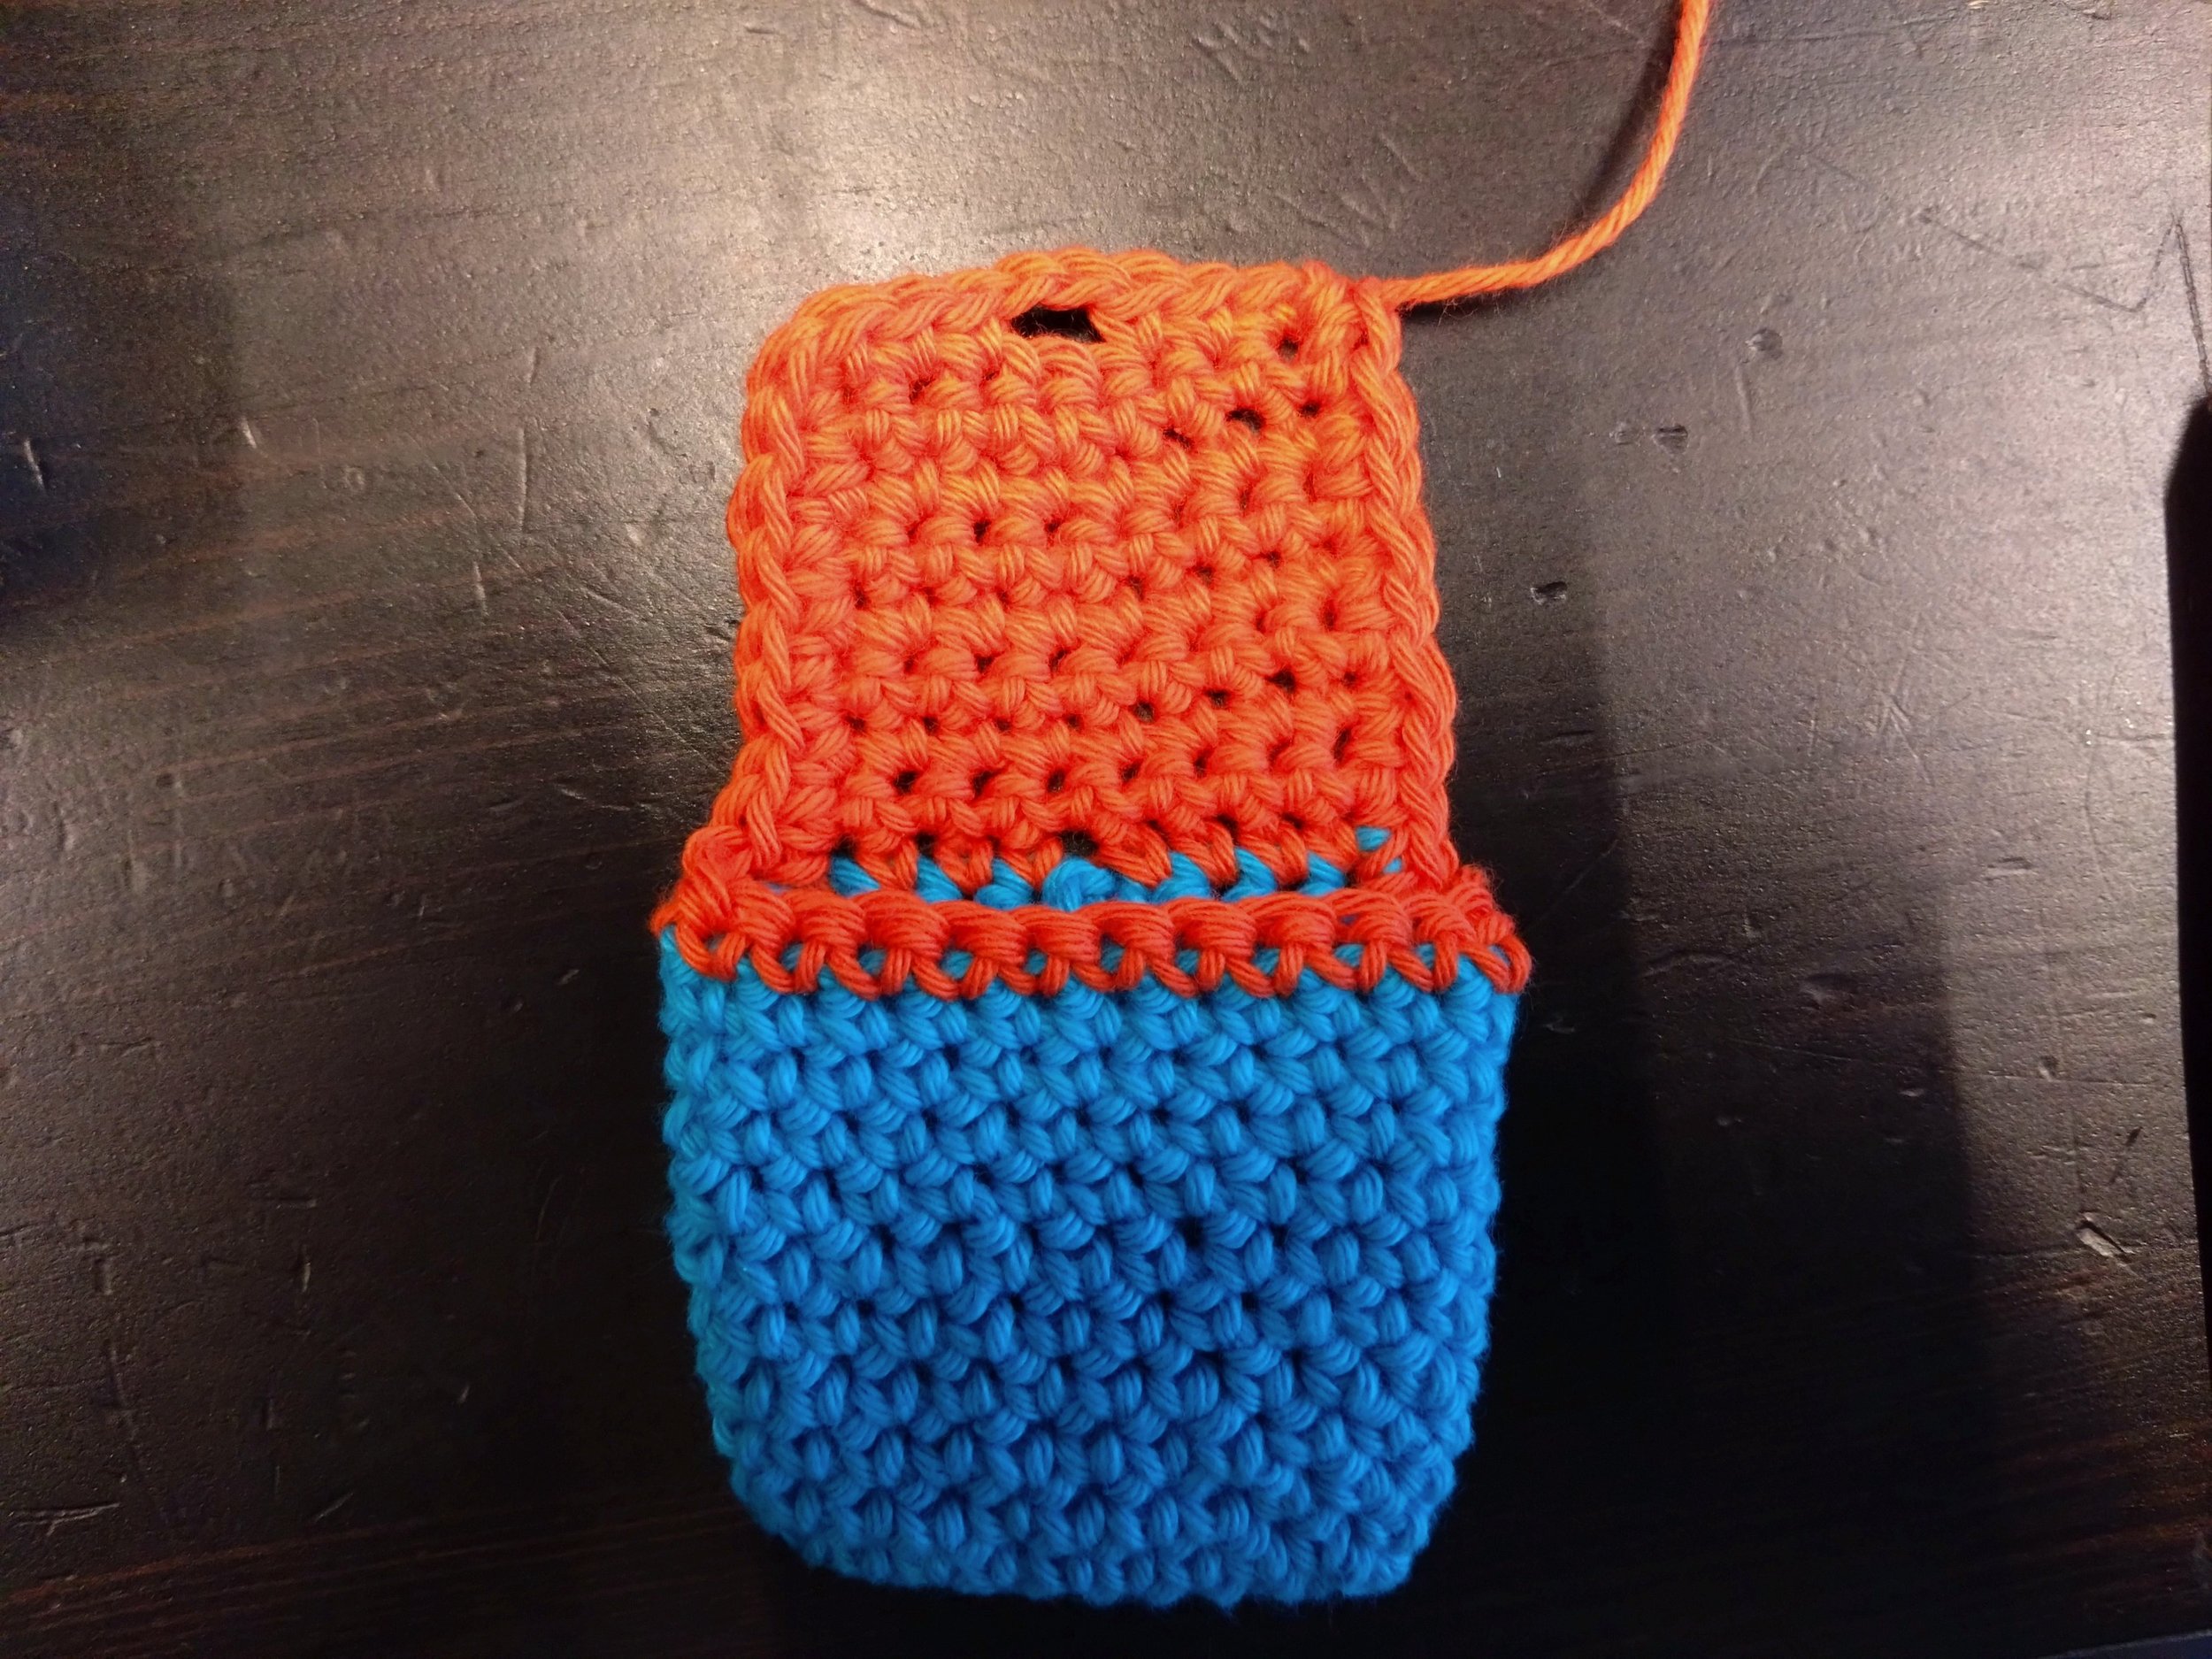
We will be making a small pouch during this part of the workshop. You have roughly two hours for this; it’s OK if you don’t manage to finish within the time, and we’re here to help you get at least very far! The small pouch can be used as a keychain to stuff DriCie coins, loose change, earphones, perhaps even a small bottle of booze… You can pick two colours to make the pouch. The flap can be made out of a different colour, but you don’t have to! The example contains a hideous combination of colours, but at least it is clear to see which part is which (the pouch is blue, the flap is orange).
Abbreviations used in this pattern
sc = single crochet (regular stitch)
ch = chain stitch
inc = increase
Part 1: The Pouch
For the pouch, we are going to first make a chain and then crochet on both sides of the chain. This will create an oval-like shape. We will not crochet in rows (going back and forth), but in rounds. This means that it is important to keep a stitch marker in the first stitch of the round at all times, otherwise it is very easy to lose track of where you are!
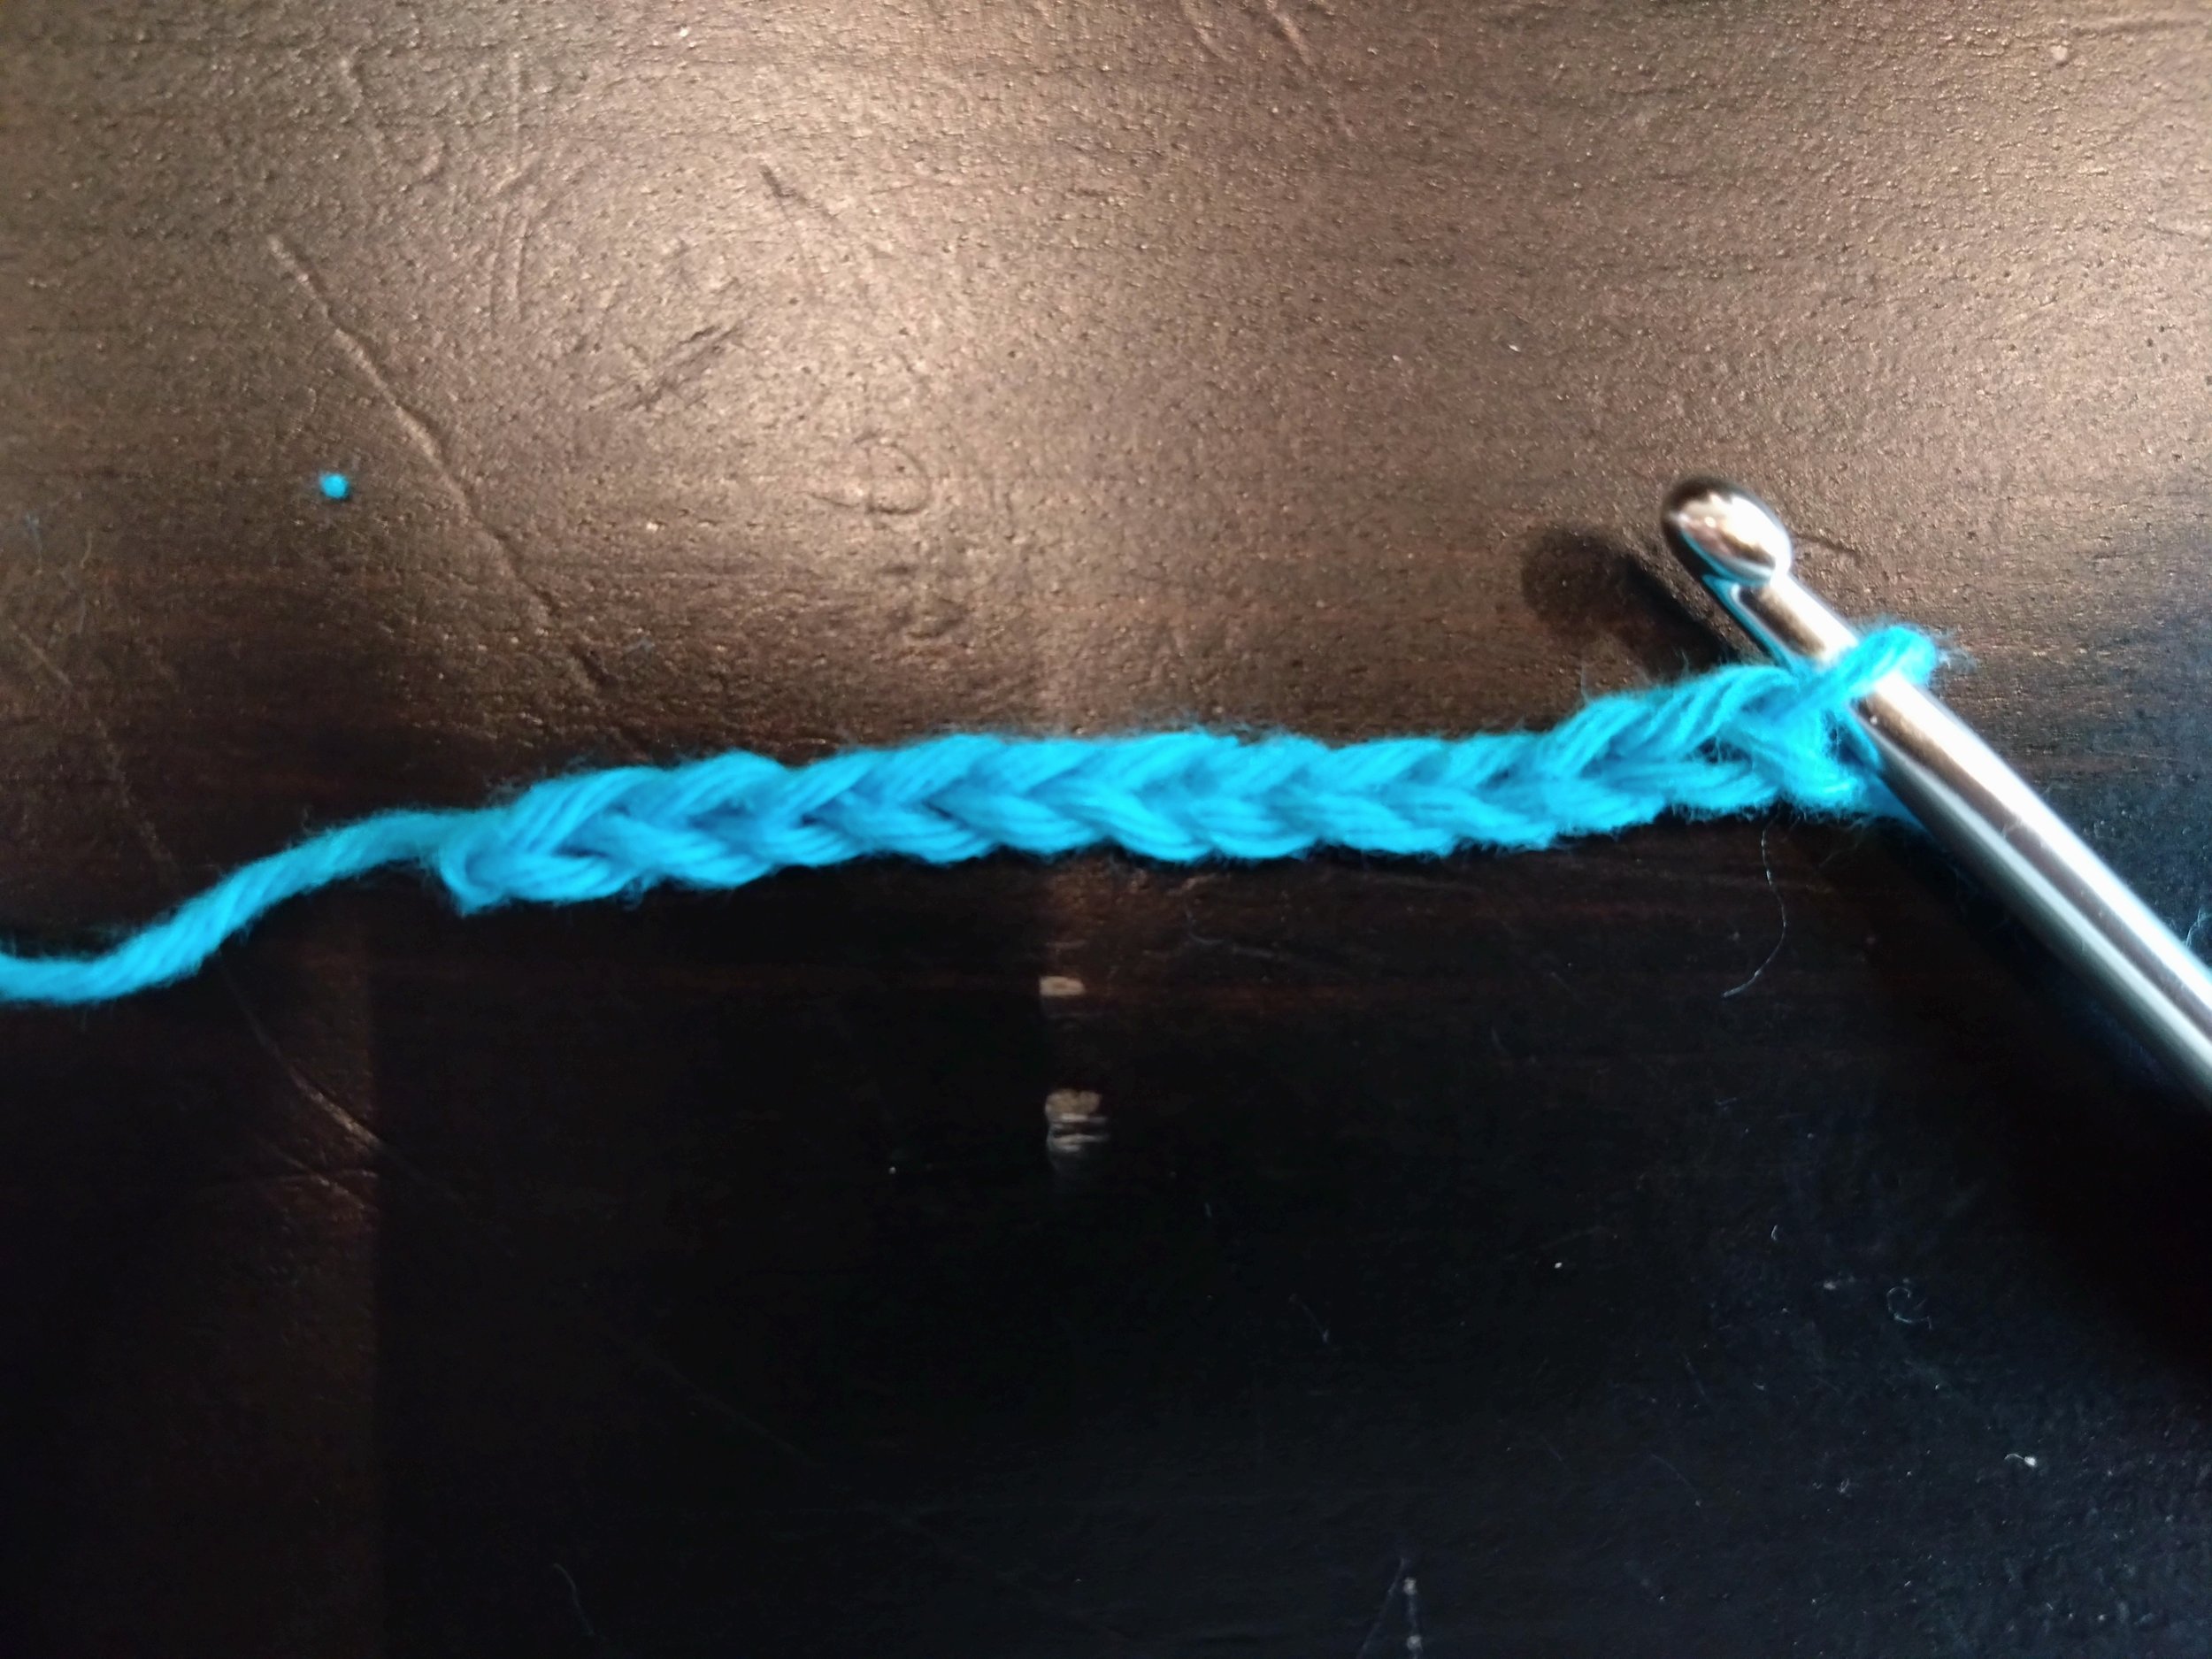
Round 1: chain 11. Make sure not to make the chain stitches too tight.
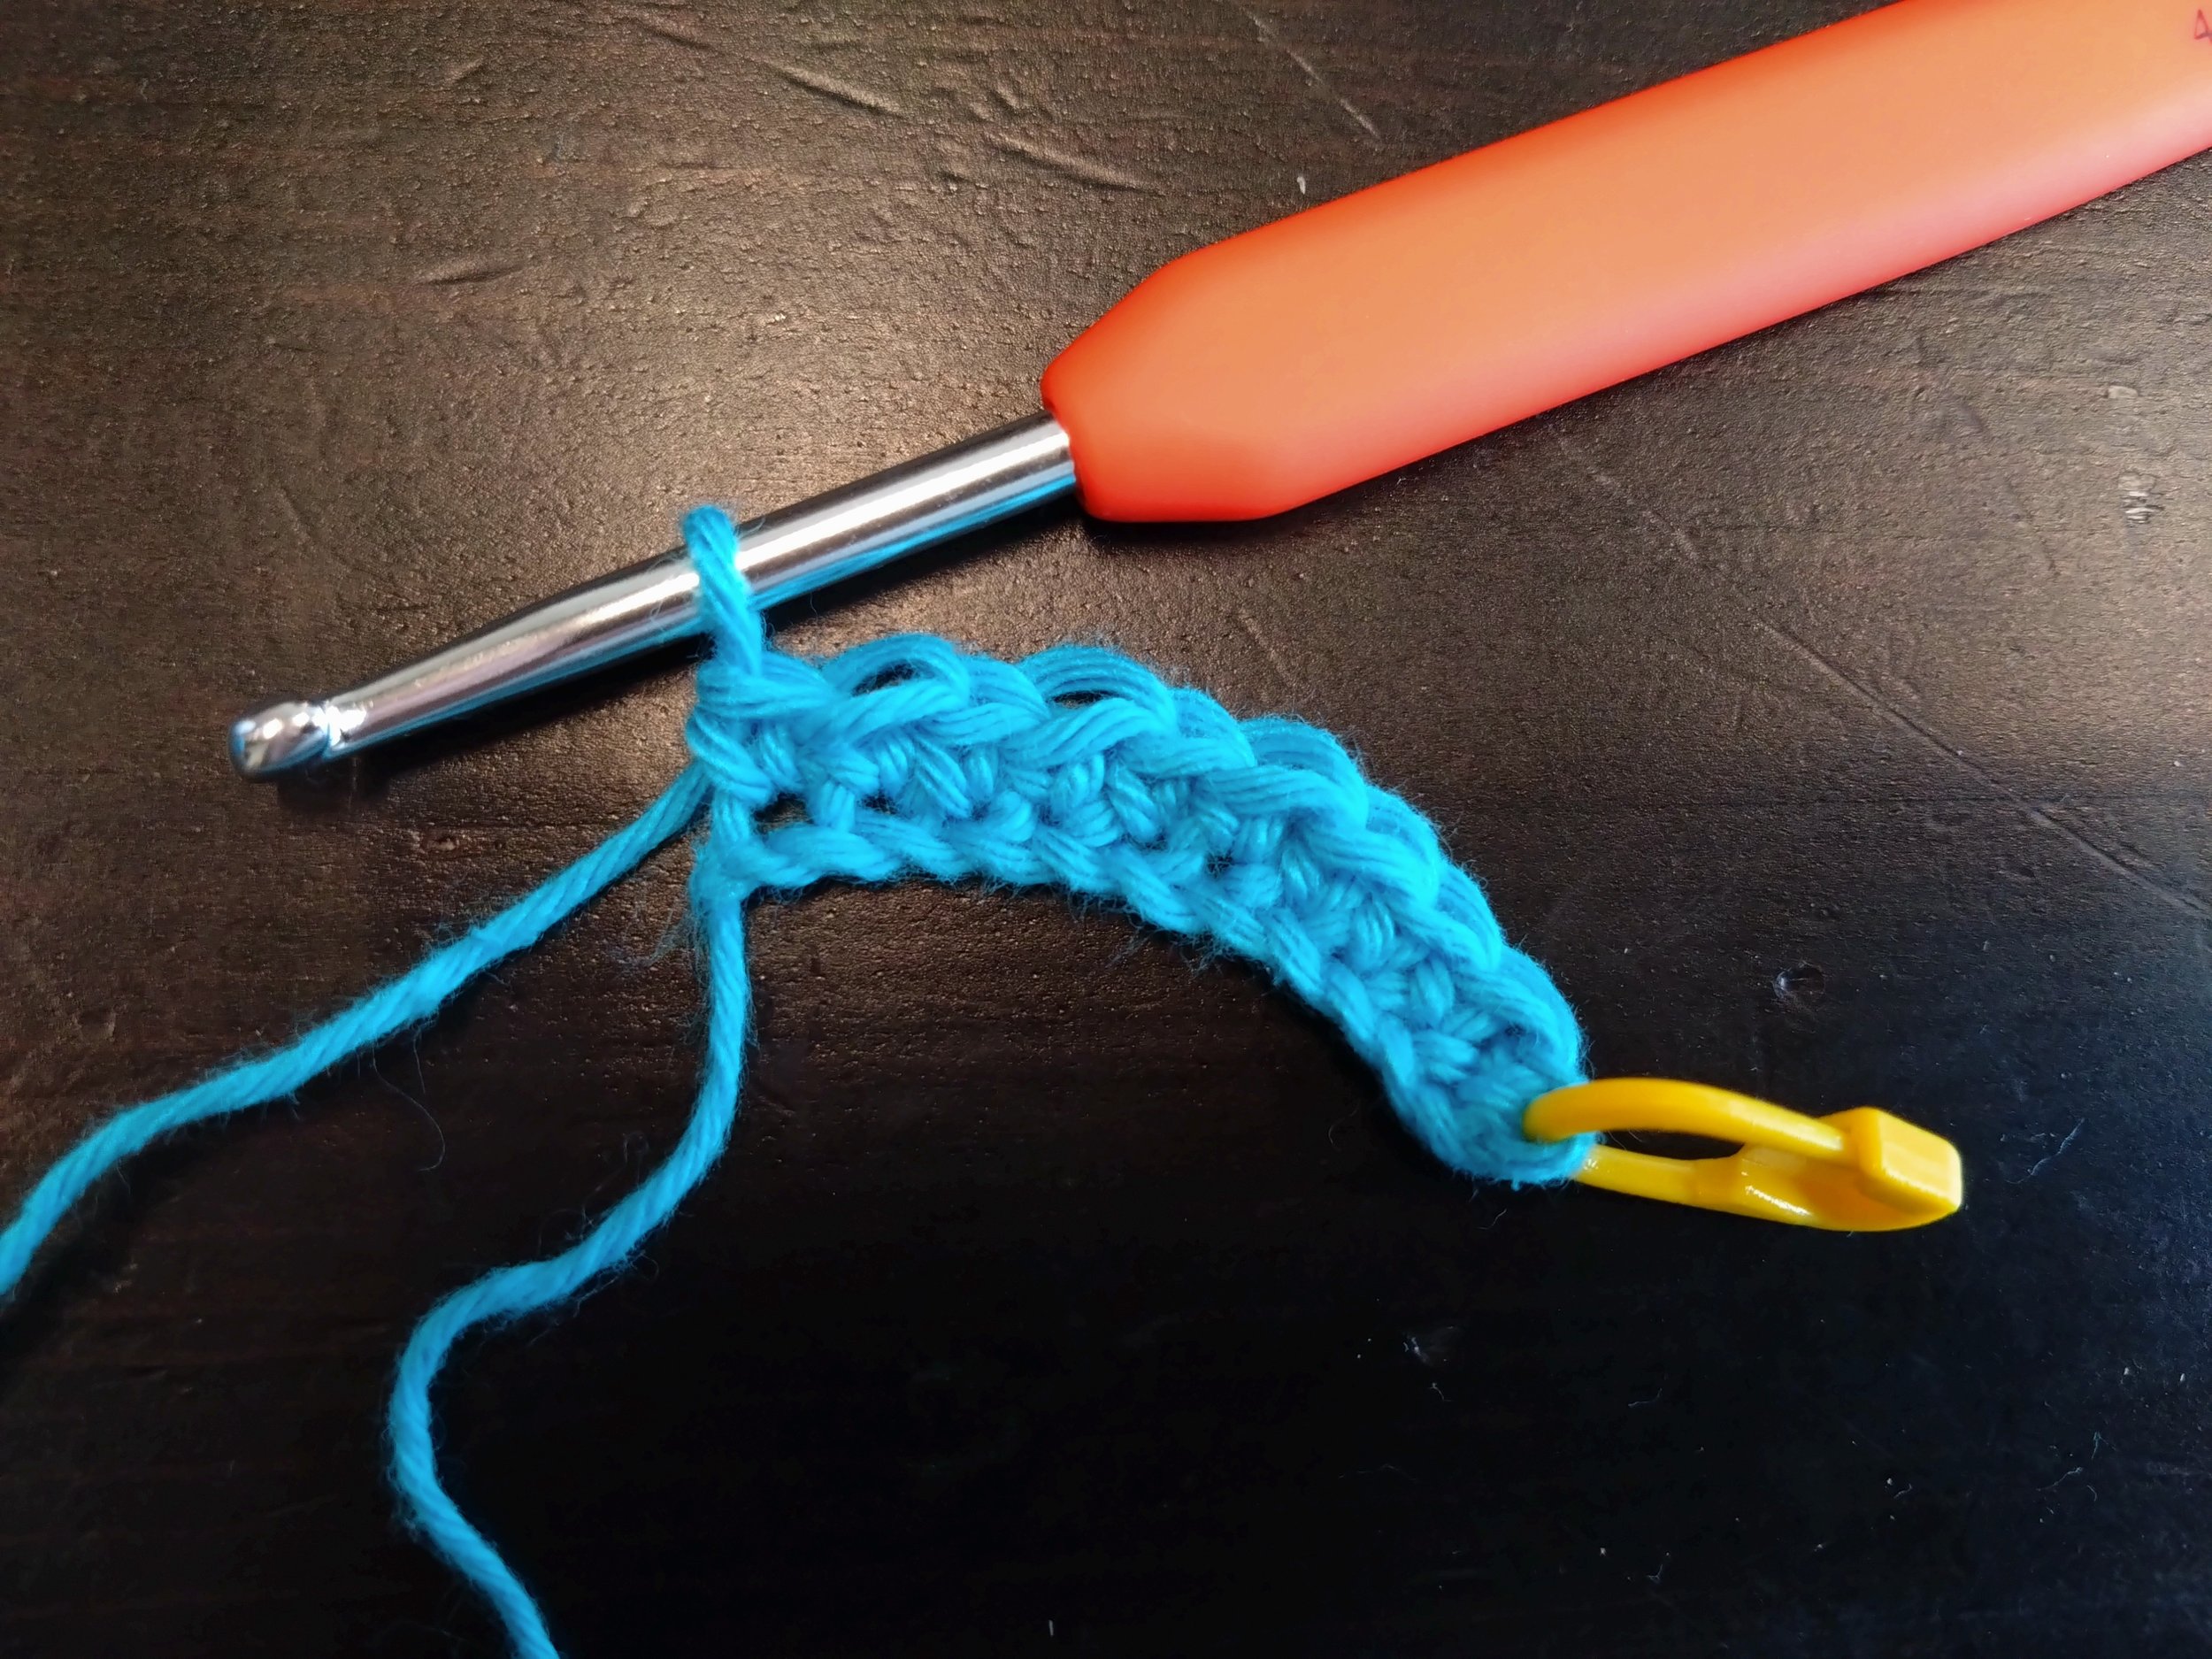
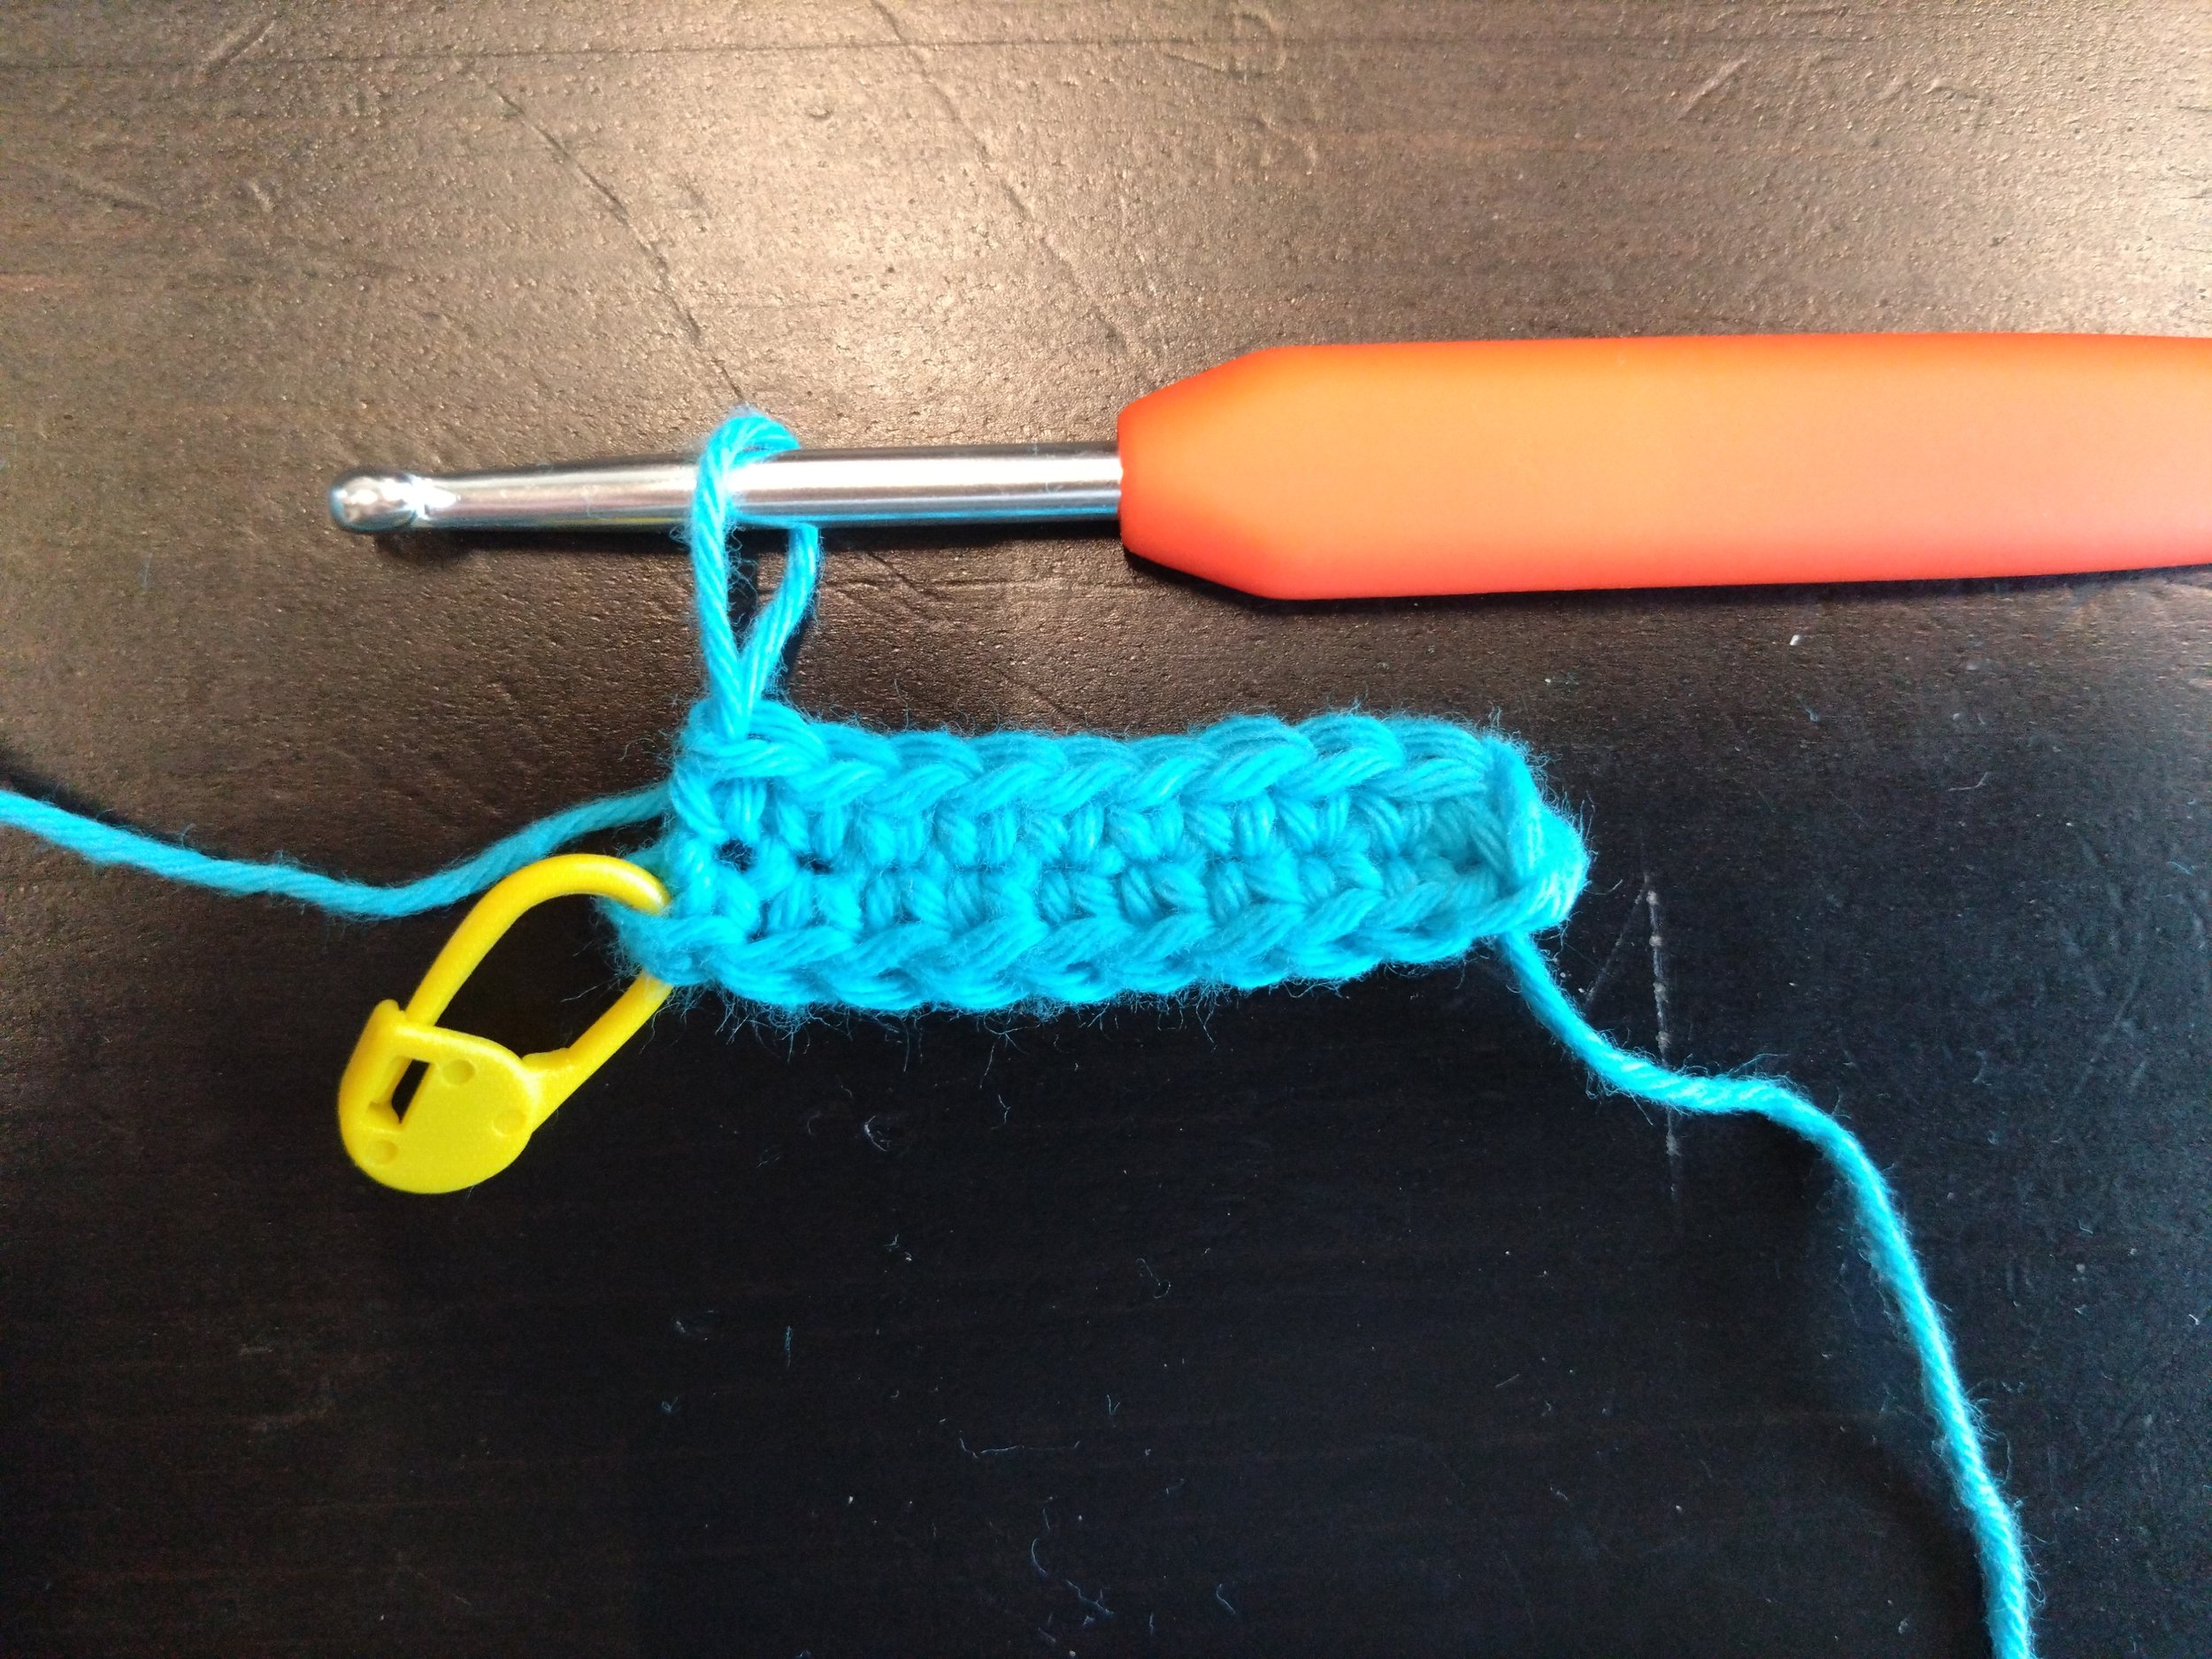
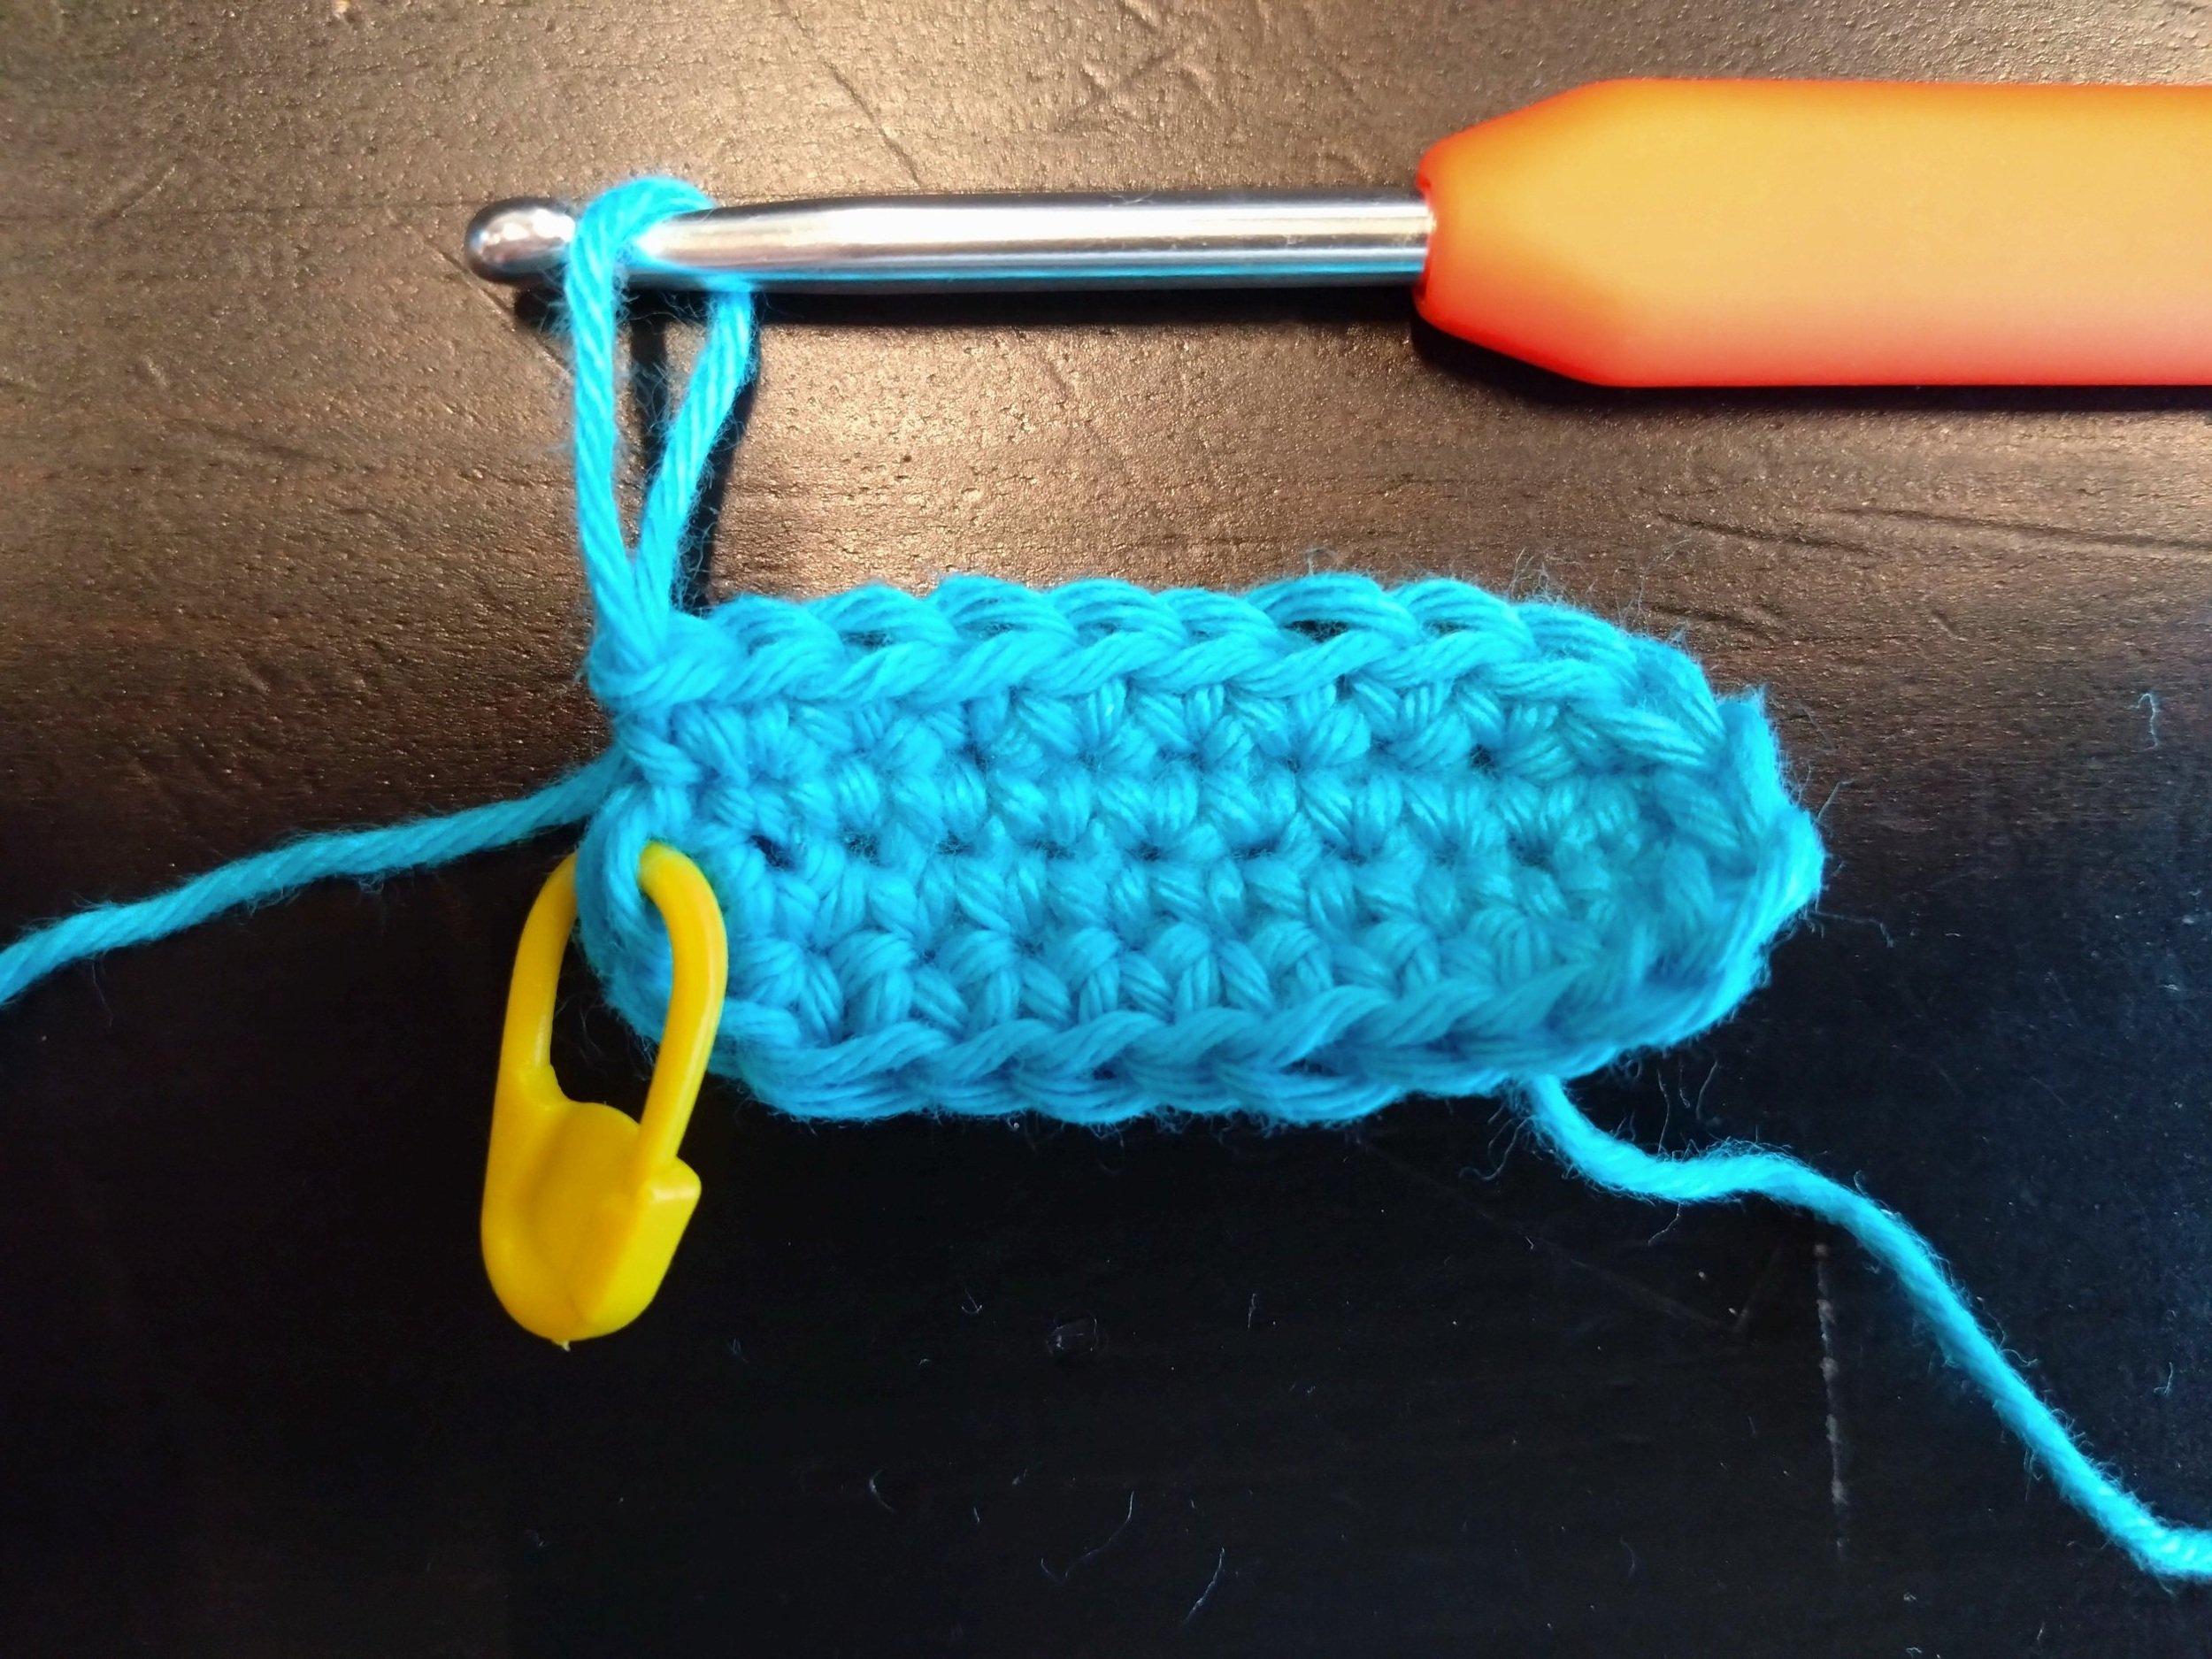
Round 2: sc 10 in the top loops of the stitches of the chain stitches (place a stitch marker in the first sc you made!). Then, rotate (not flip!) your work and work around. Then, sc 10 in the bottom loops of the stitches. You should now end up with an ‘oval’ of 20 stitches (see pictures below):

Round 3: sc 9. Then, crochet two sc in the 10th stitch (inc). Again, sc 9 and inc in the last stitch. The round now has 22 stitches.
See this link for the increasing technique.
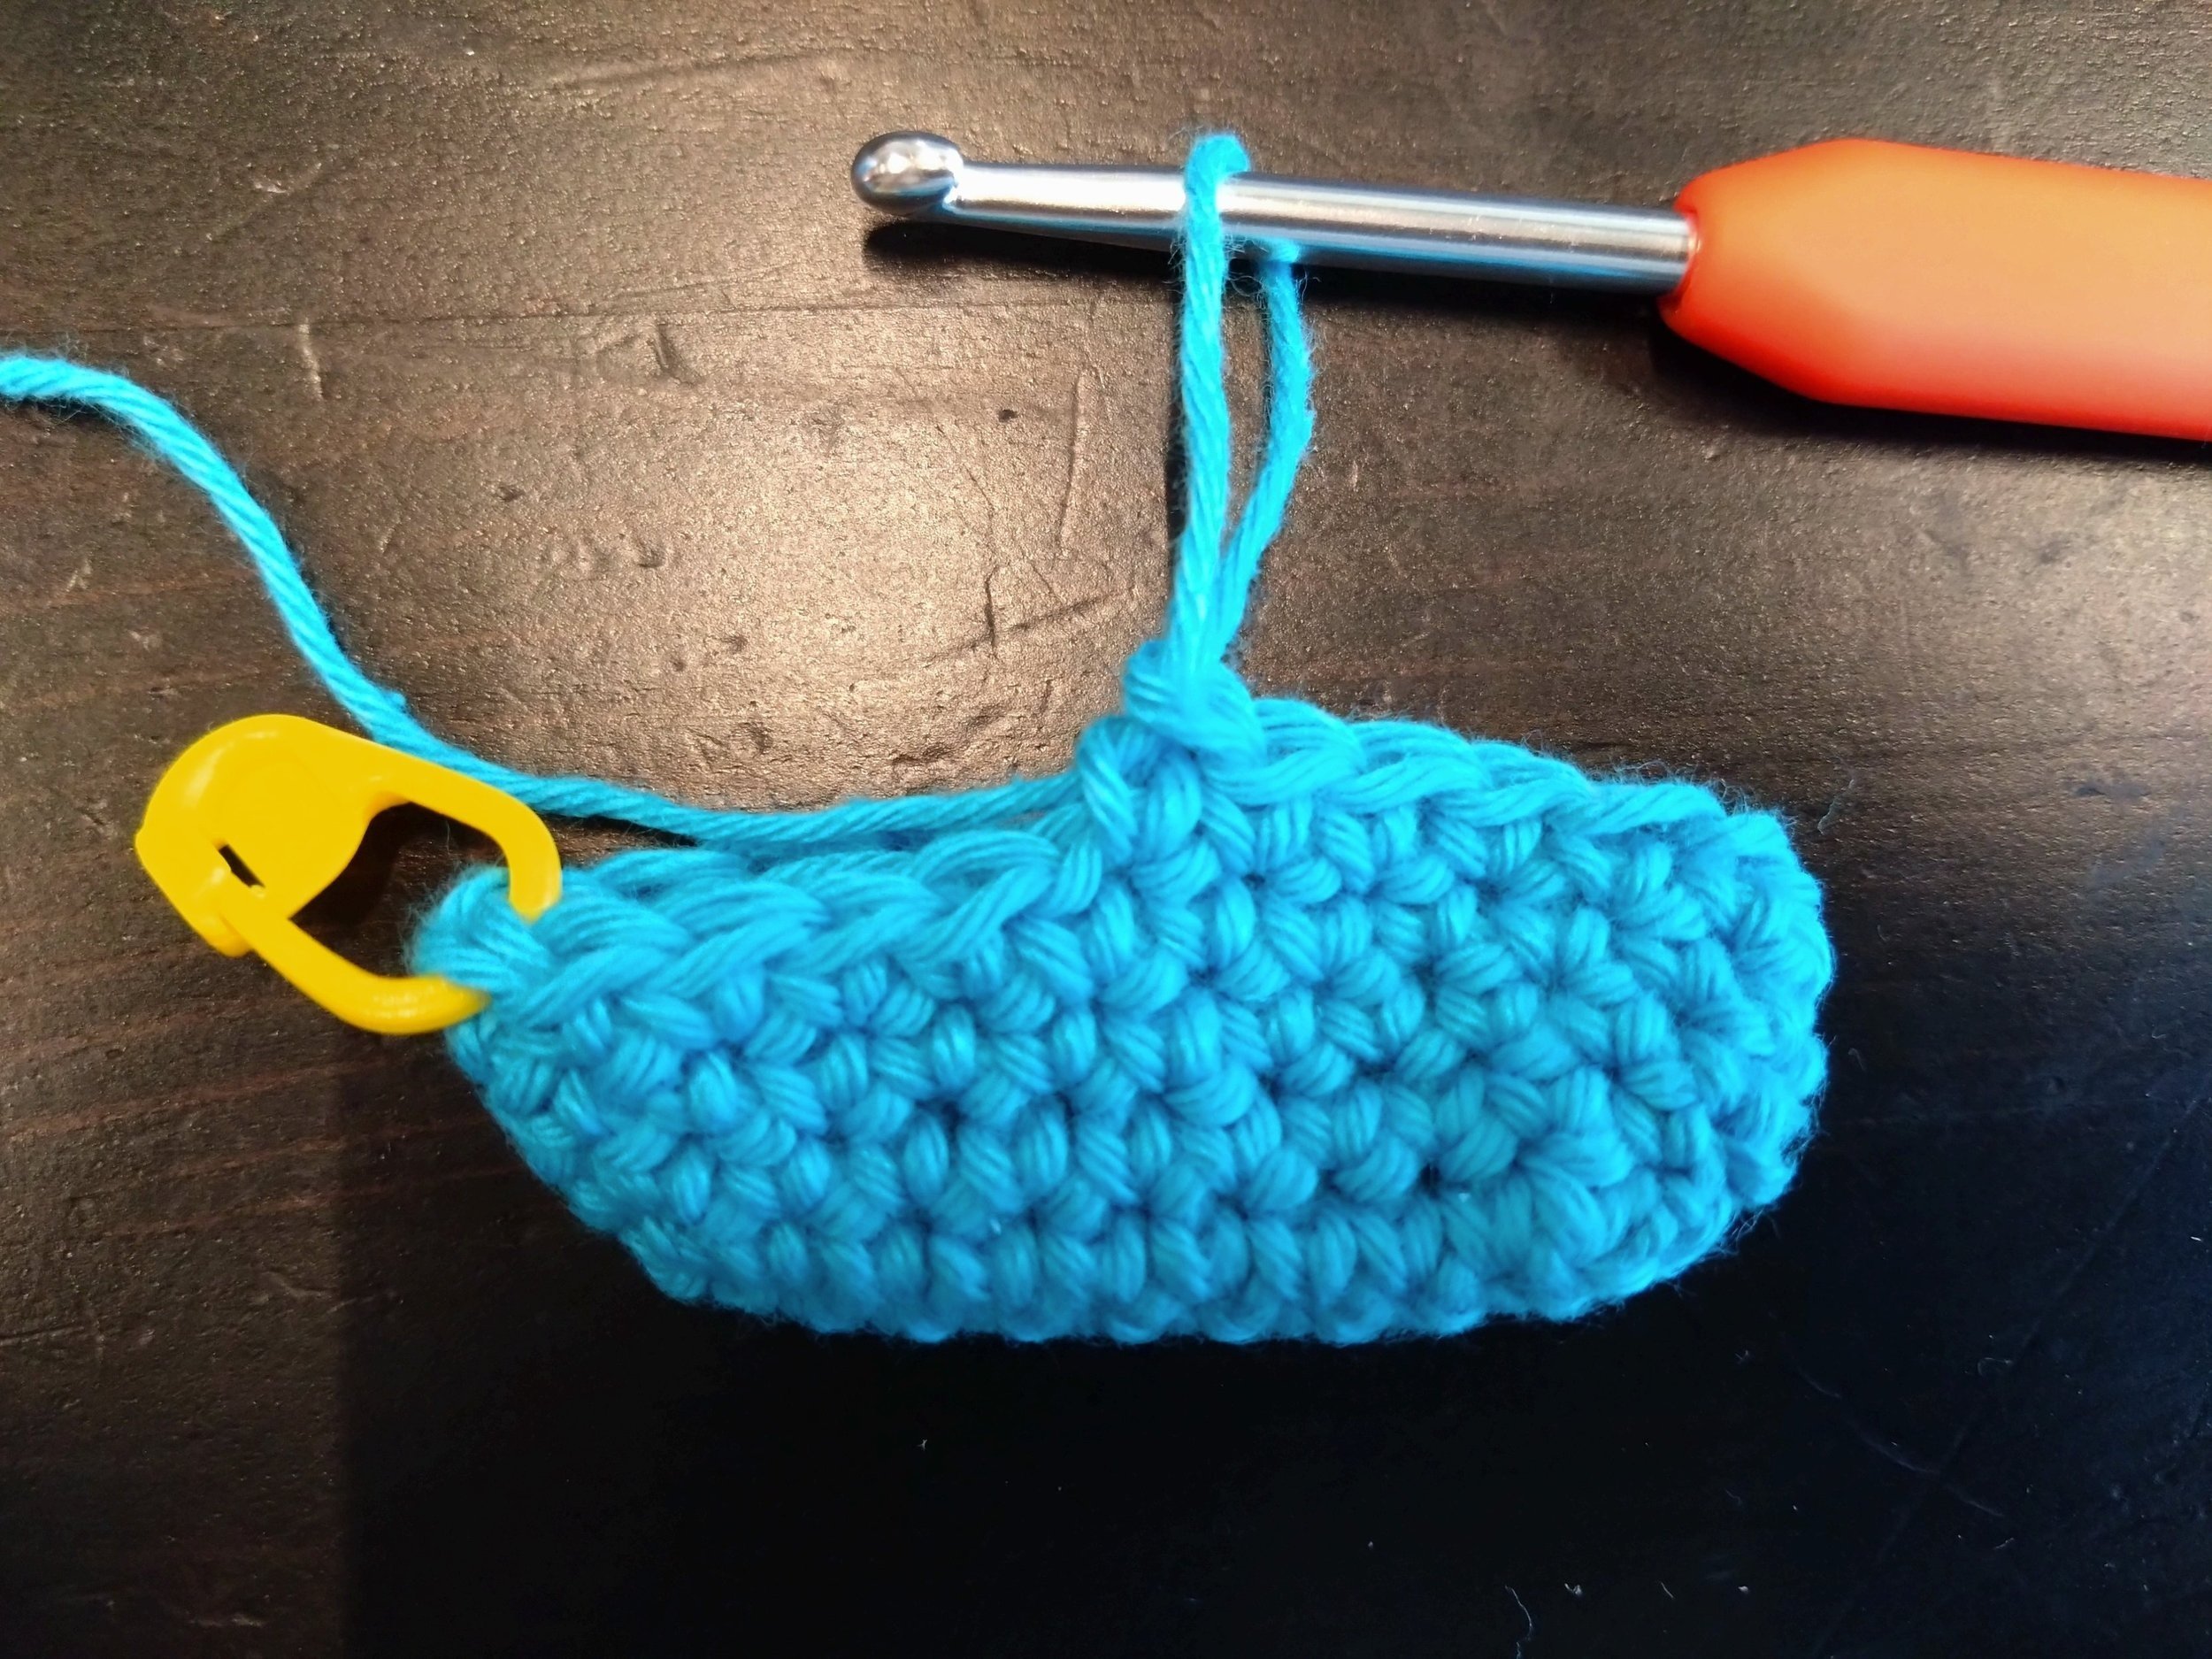
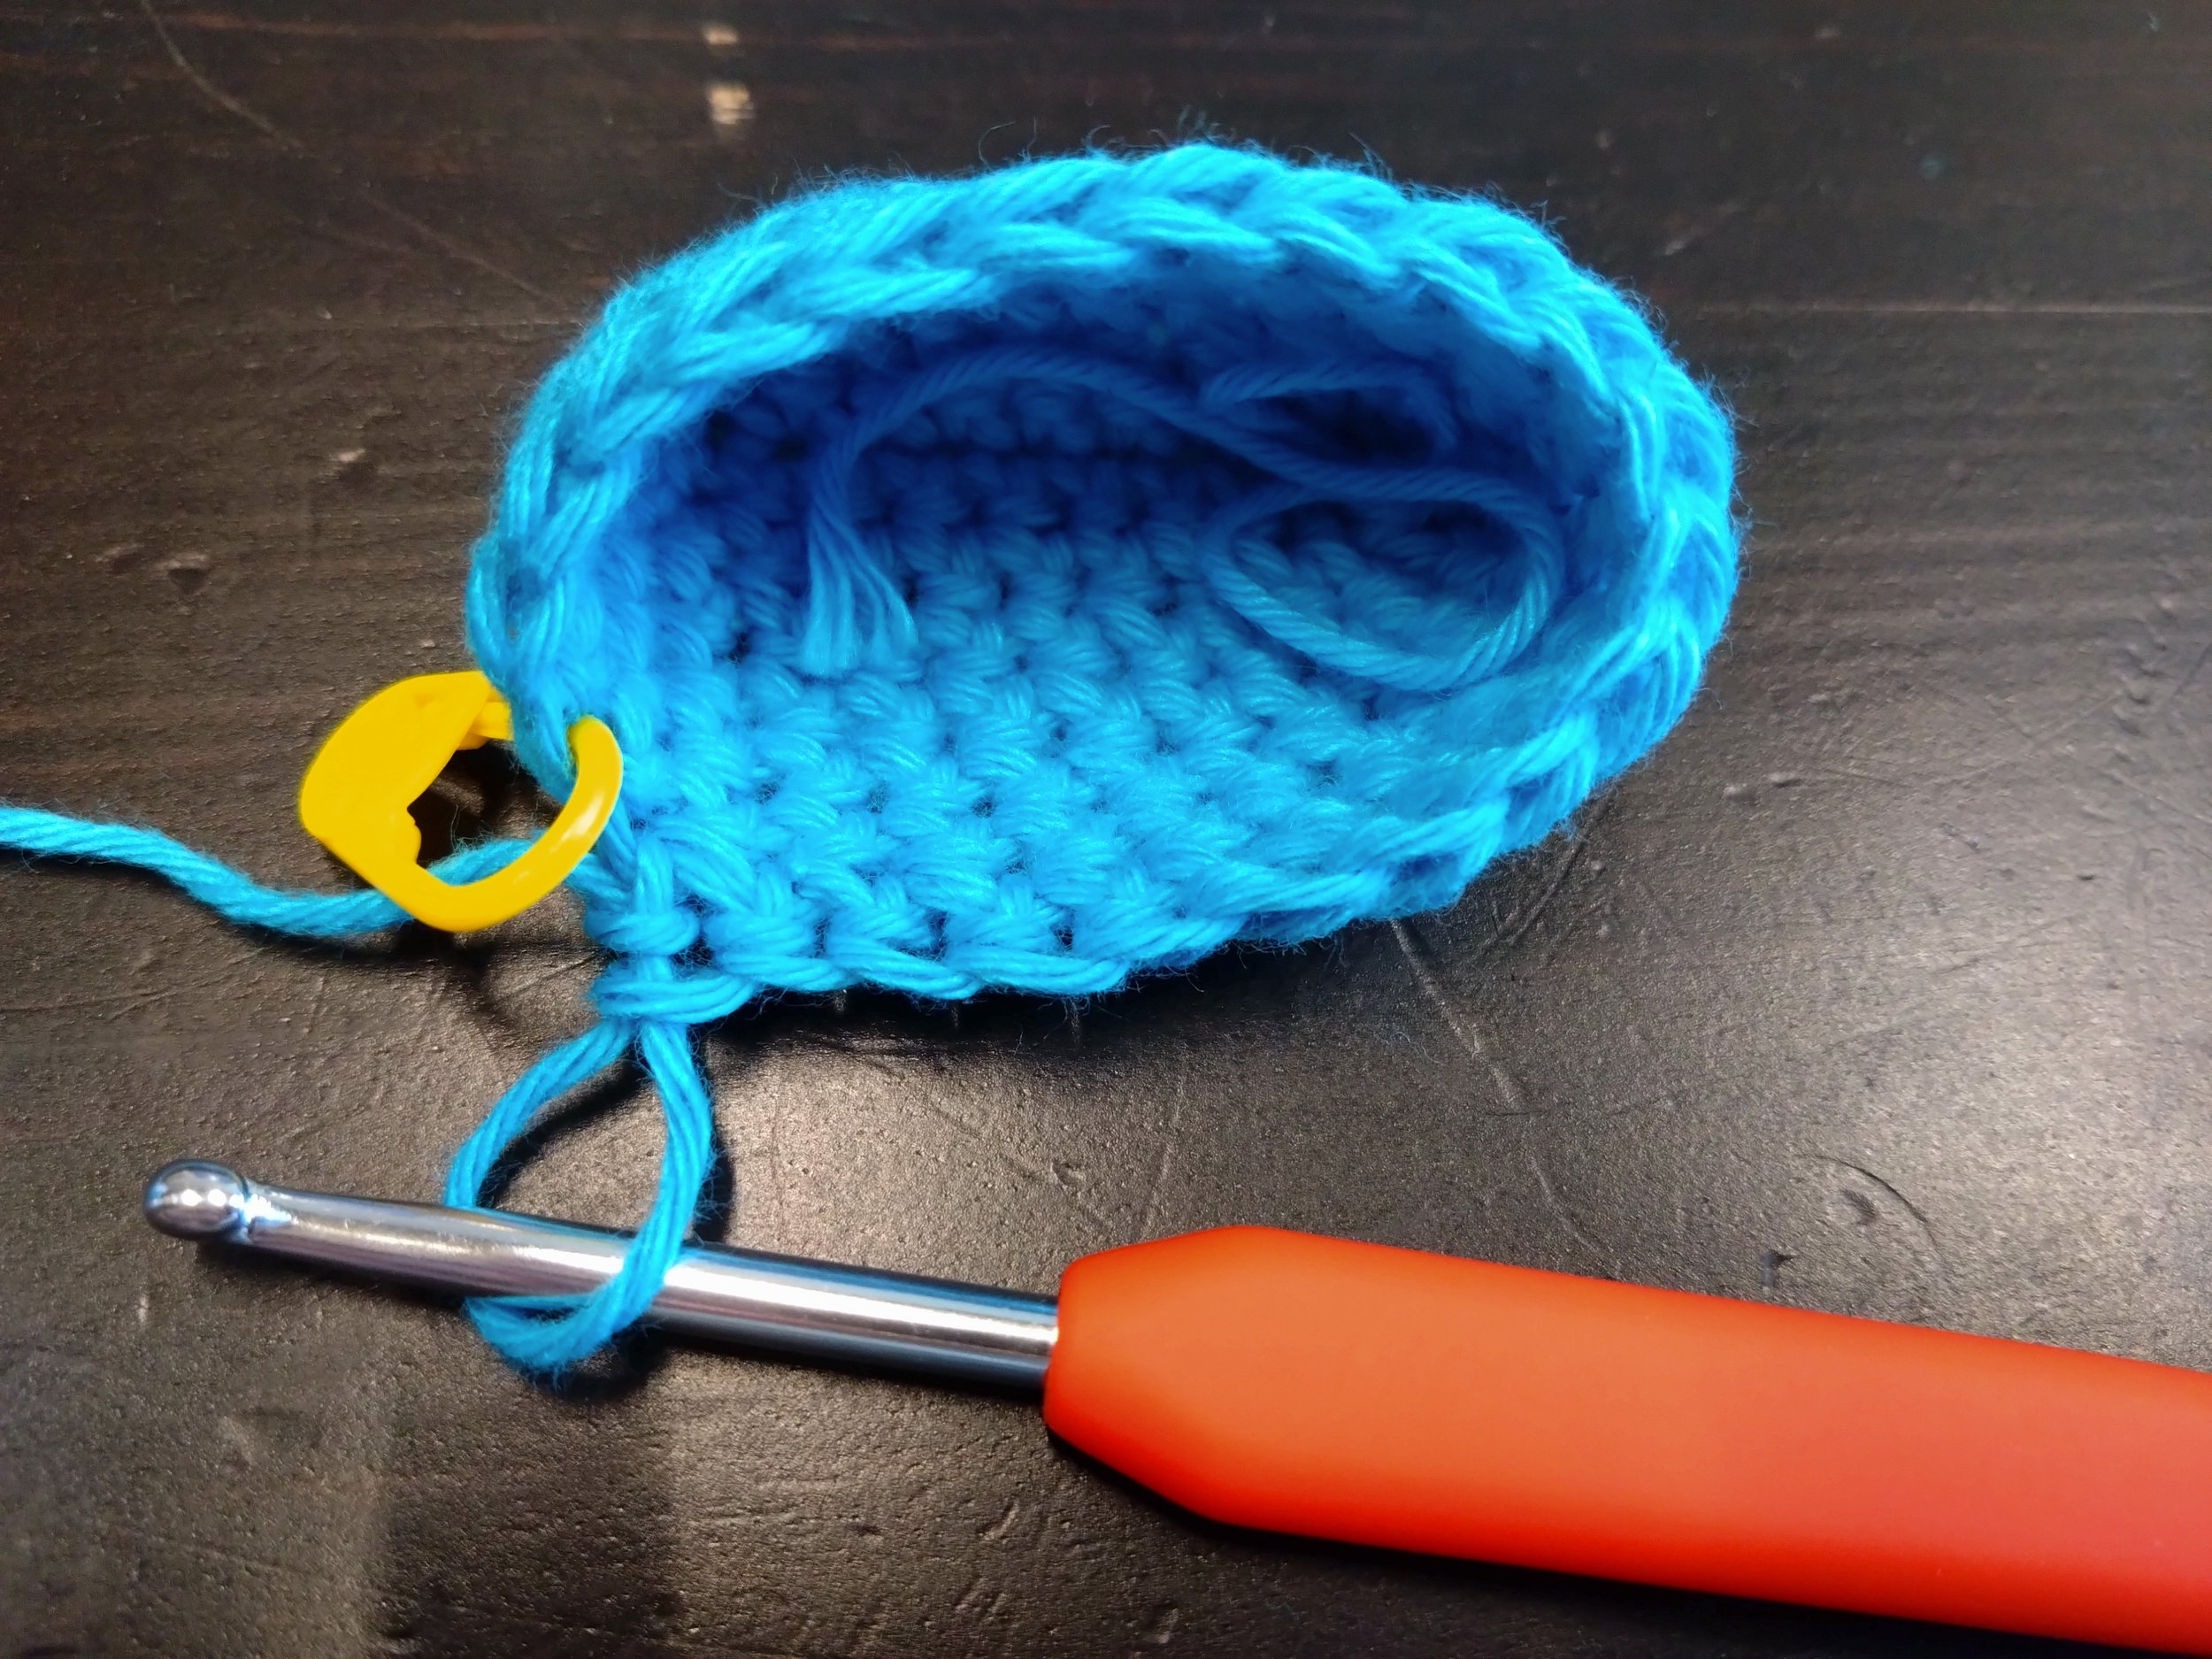
Round 4 – 11: sc 22. You will start to notice that the oval starts ‘bending’ inwards a little. If this happens, make sure that it bends the exact opposite way instead. The side of the oval that you’ve been looking at while crocheting will become the outside of the little pouch. It will look like this:
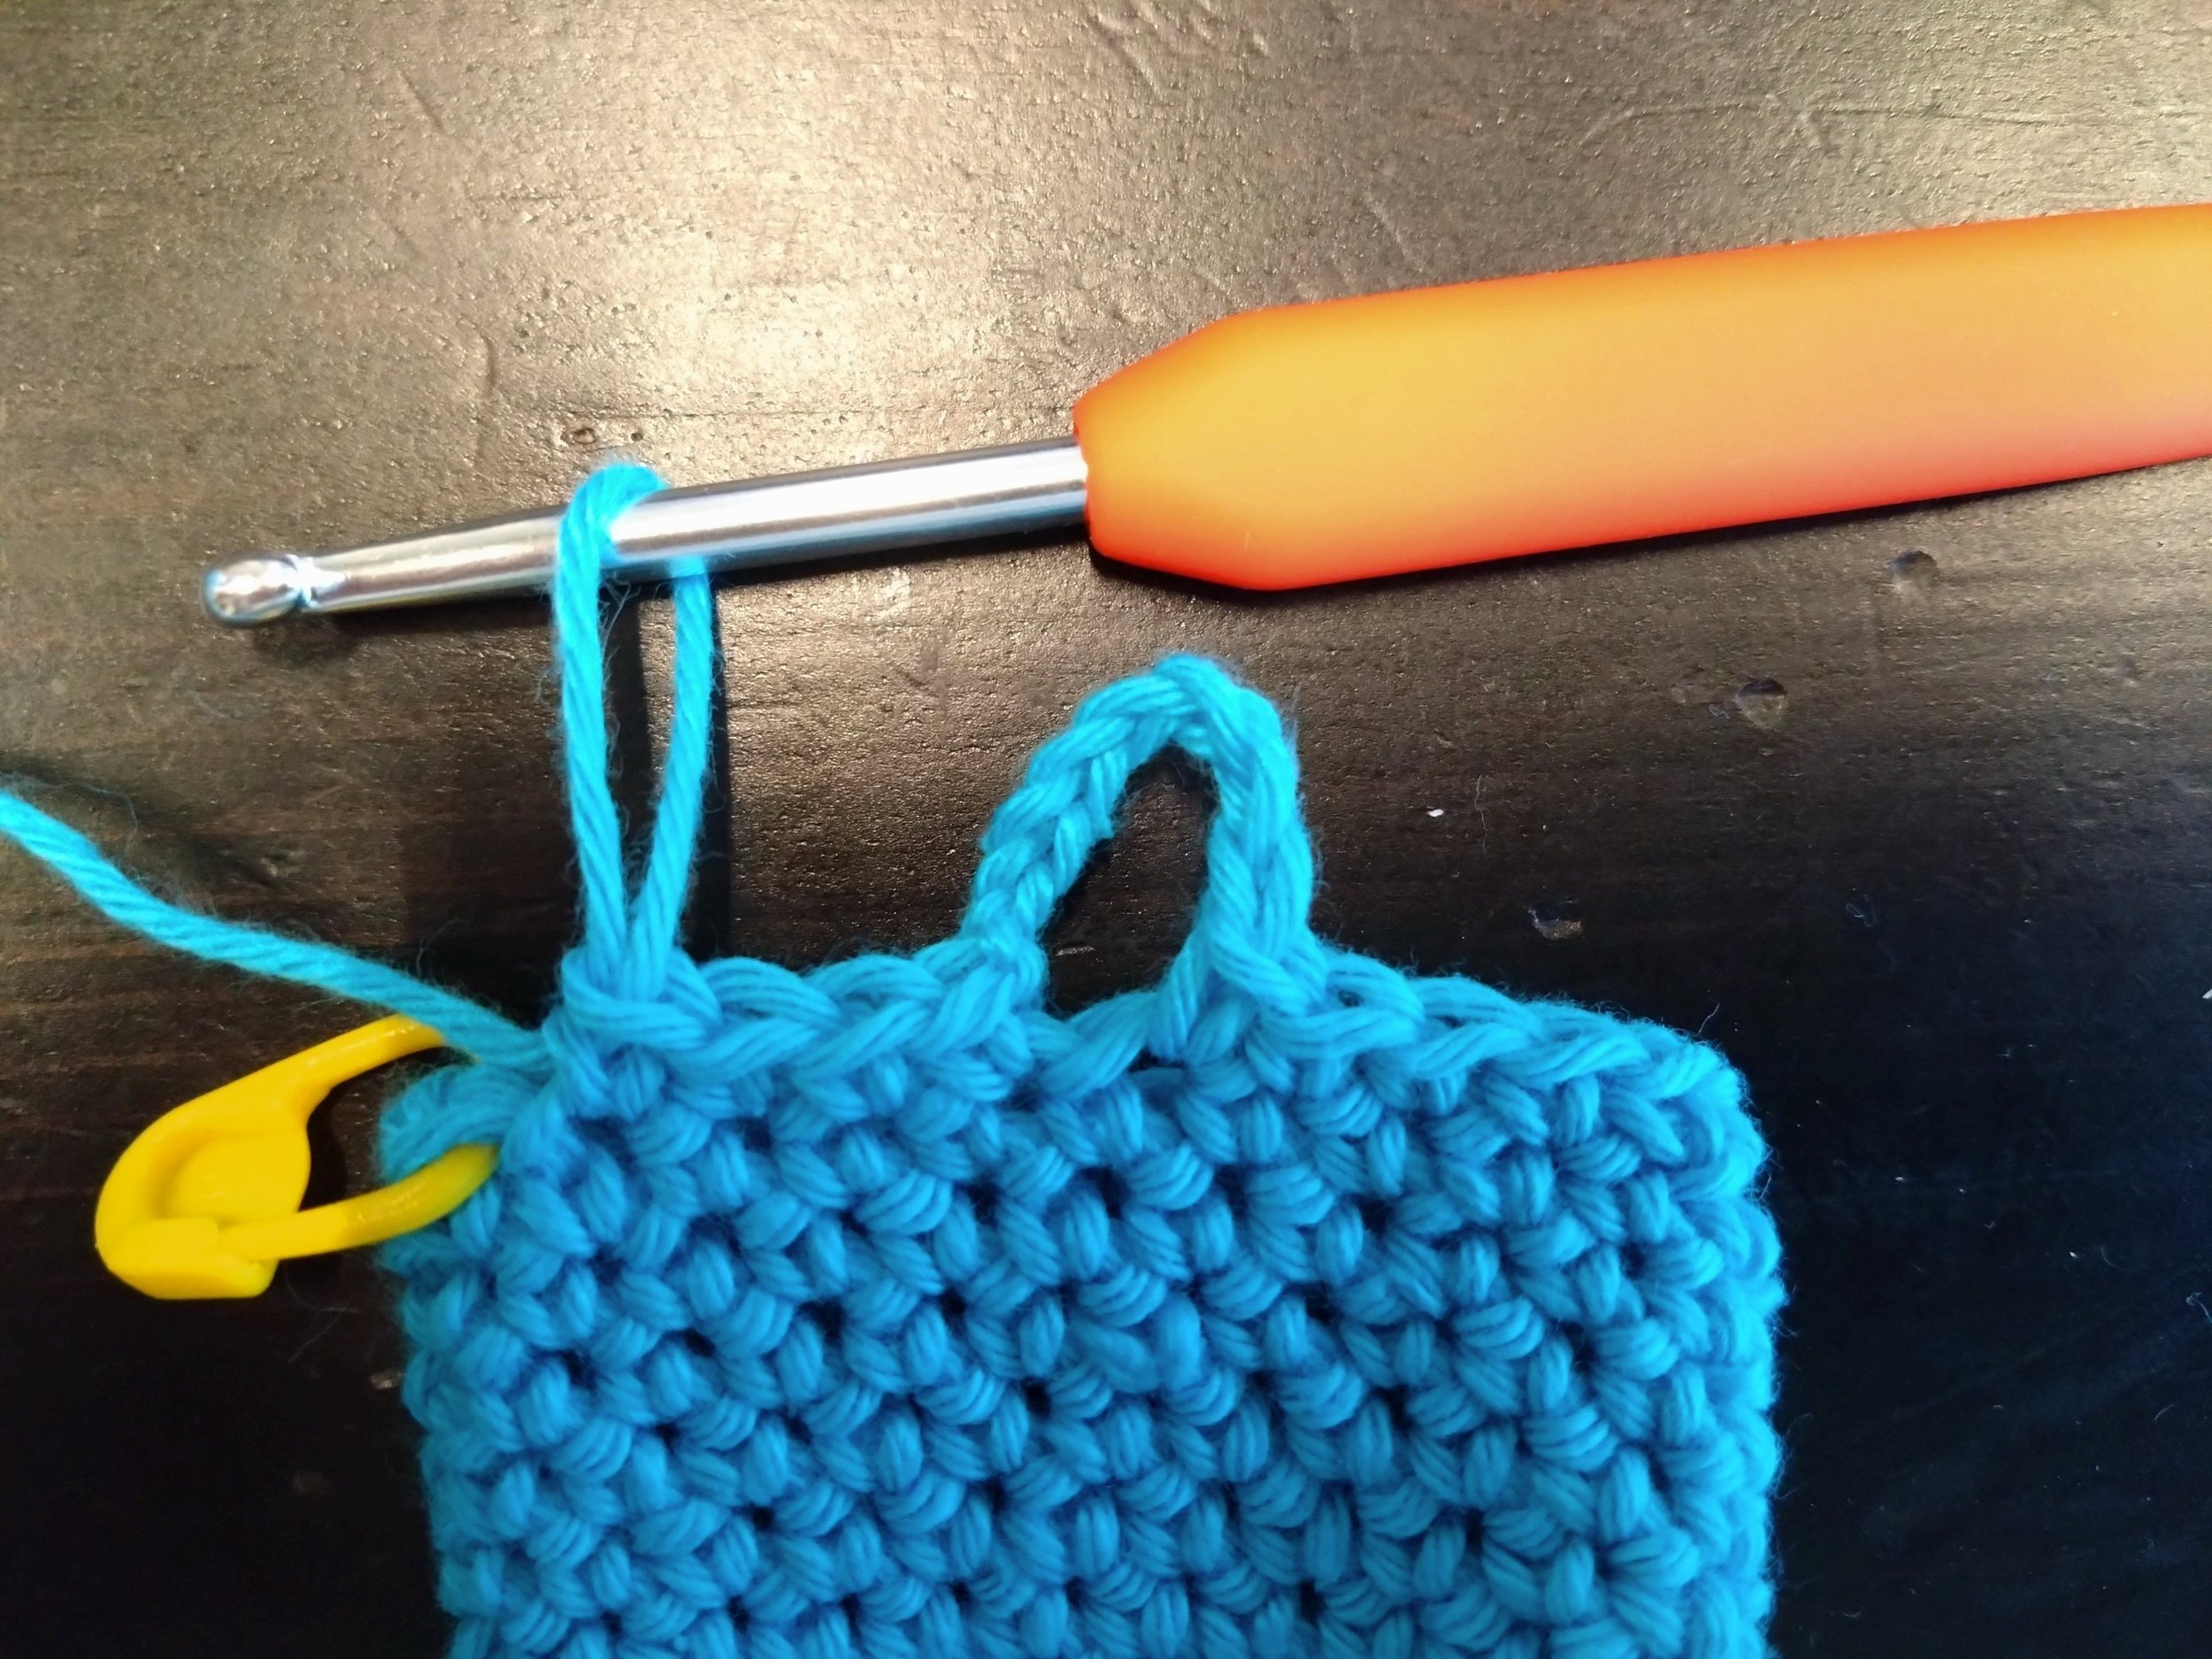
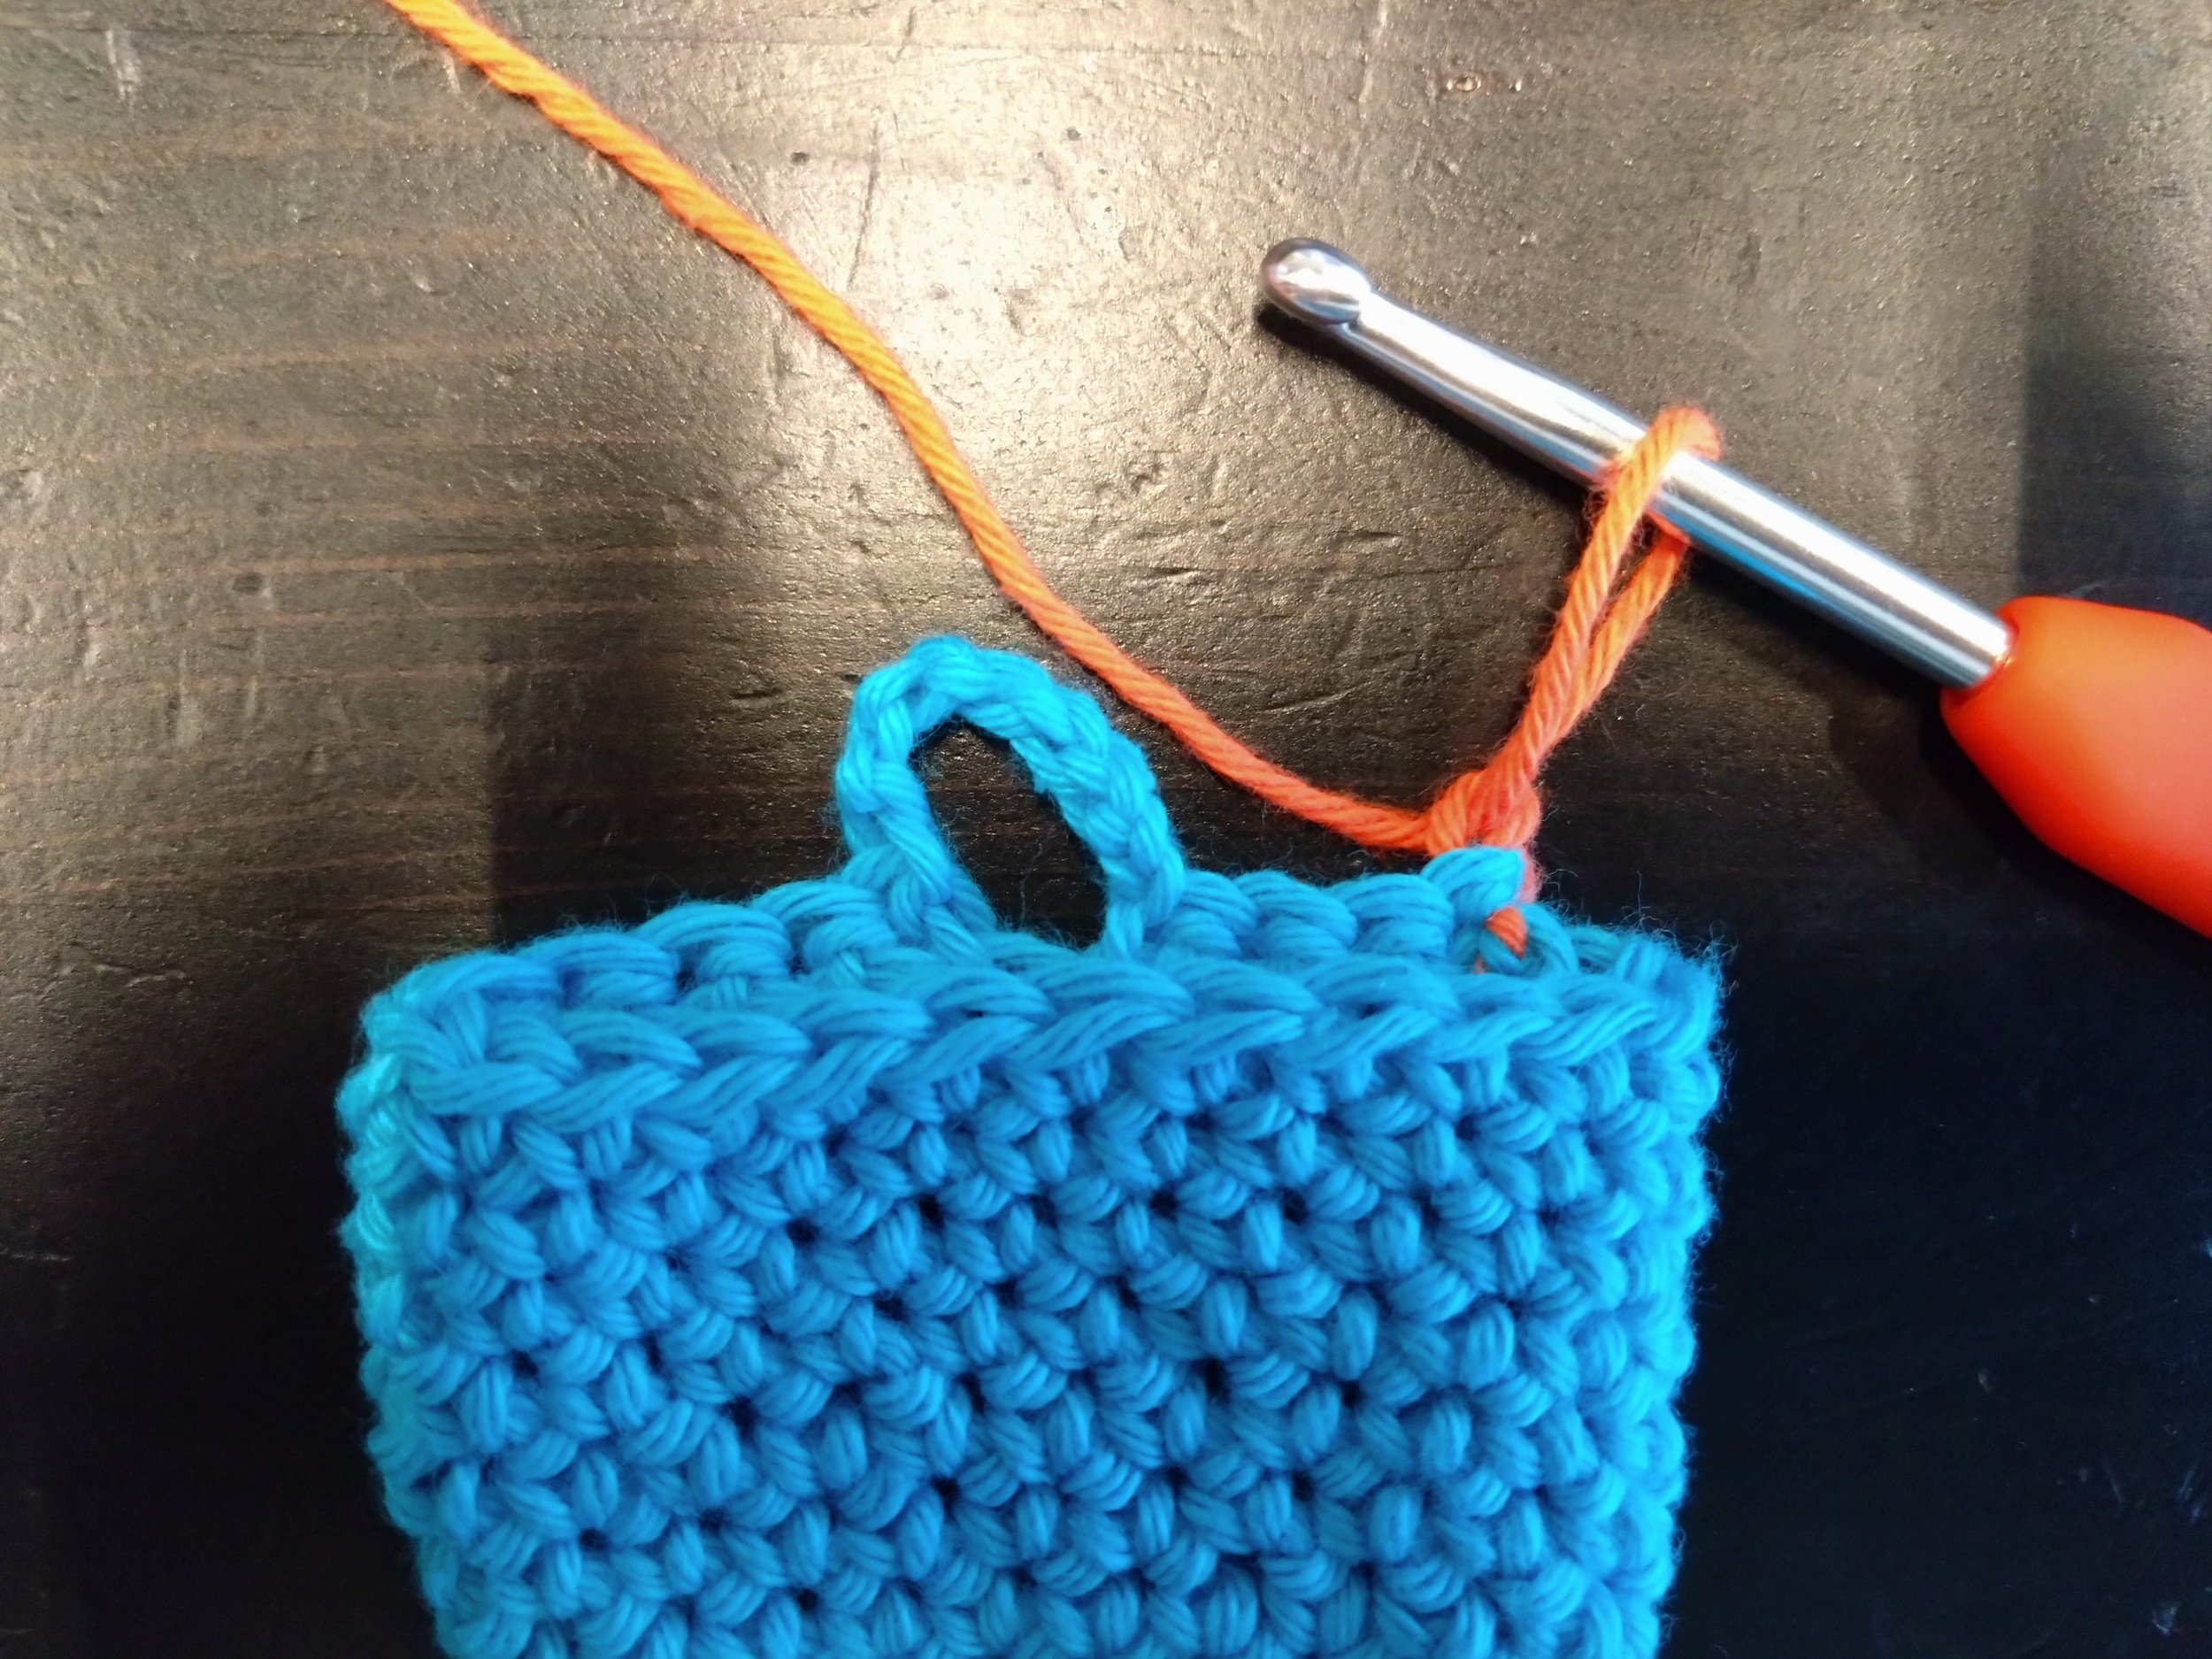
Round 12: sc 19. Then chain 8, and sc in the last four stitches. You now have a little loop on the back of the pouch. If you want to use a different colour for the flap, switch colours during the last stitch of this round.
Part 2: The Flap
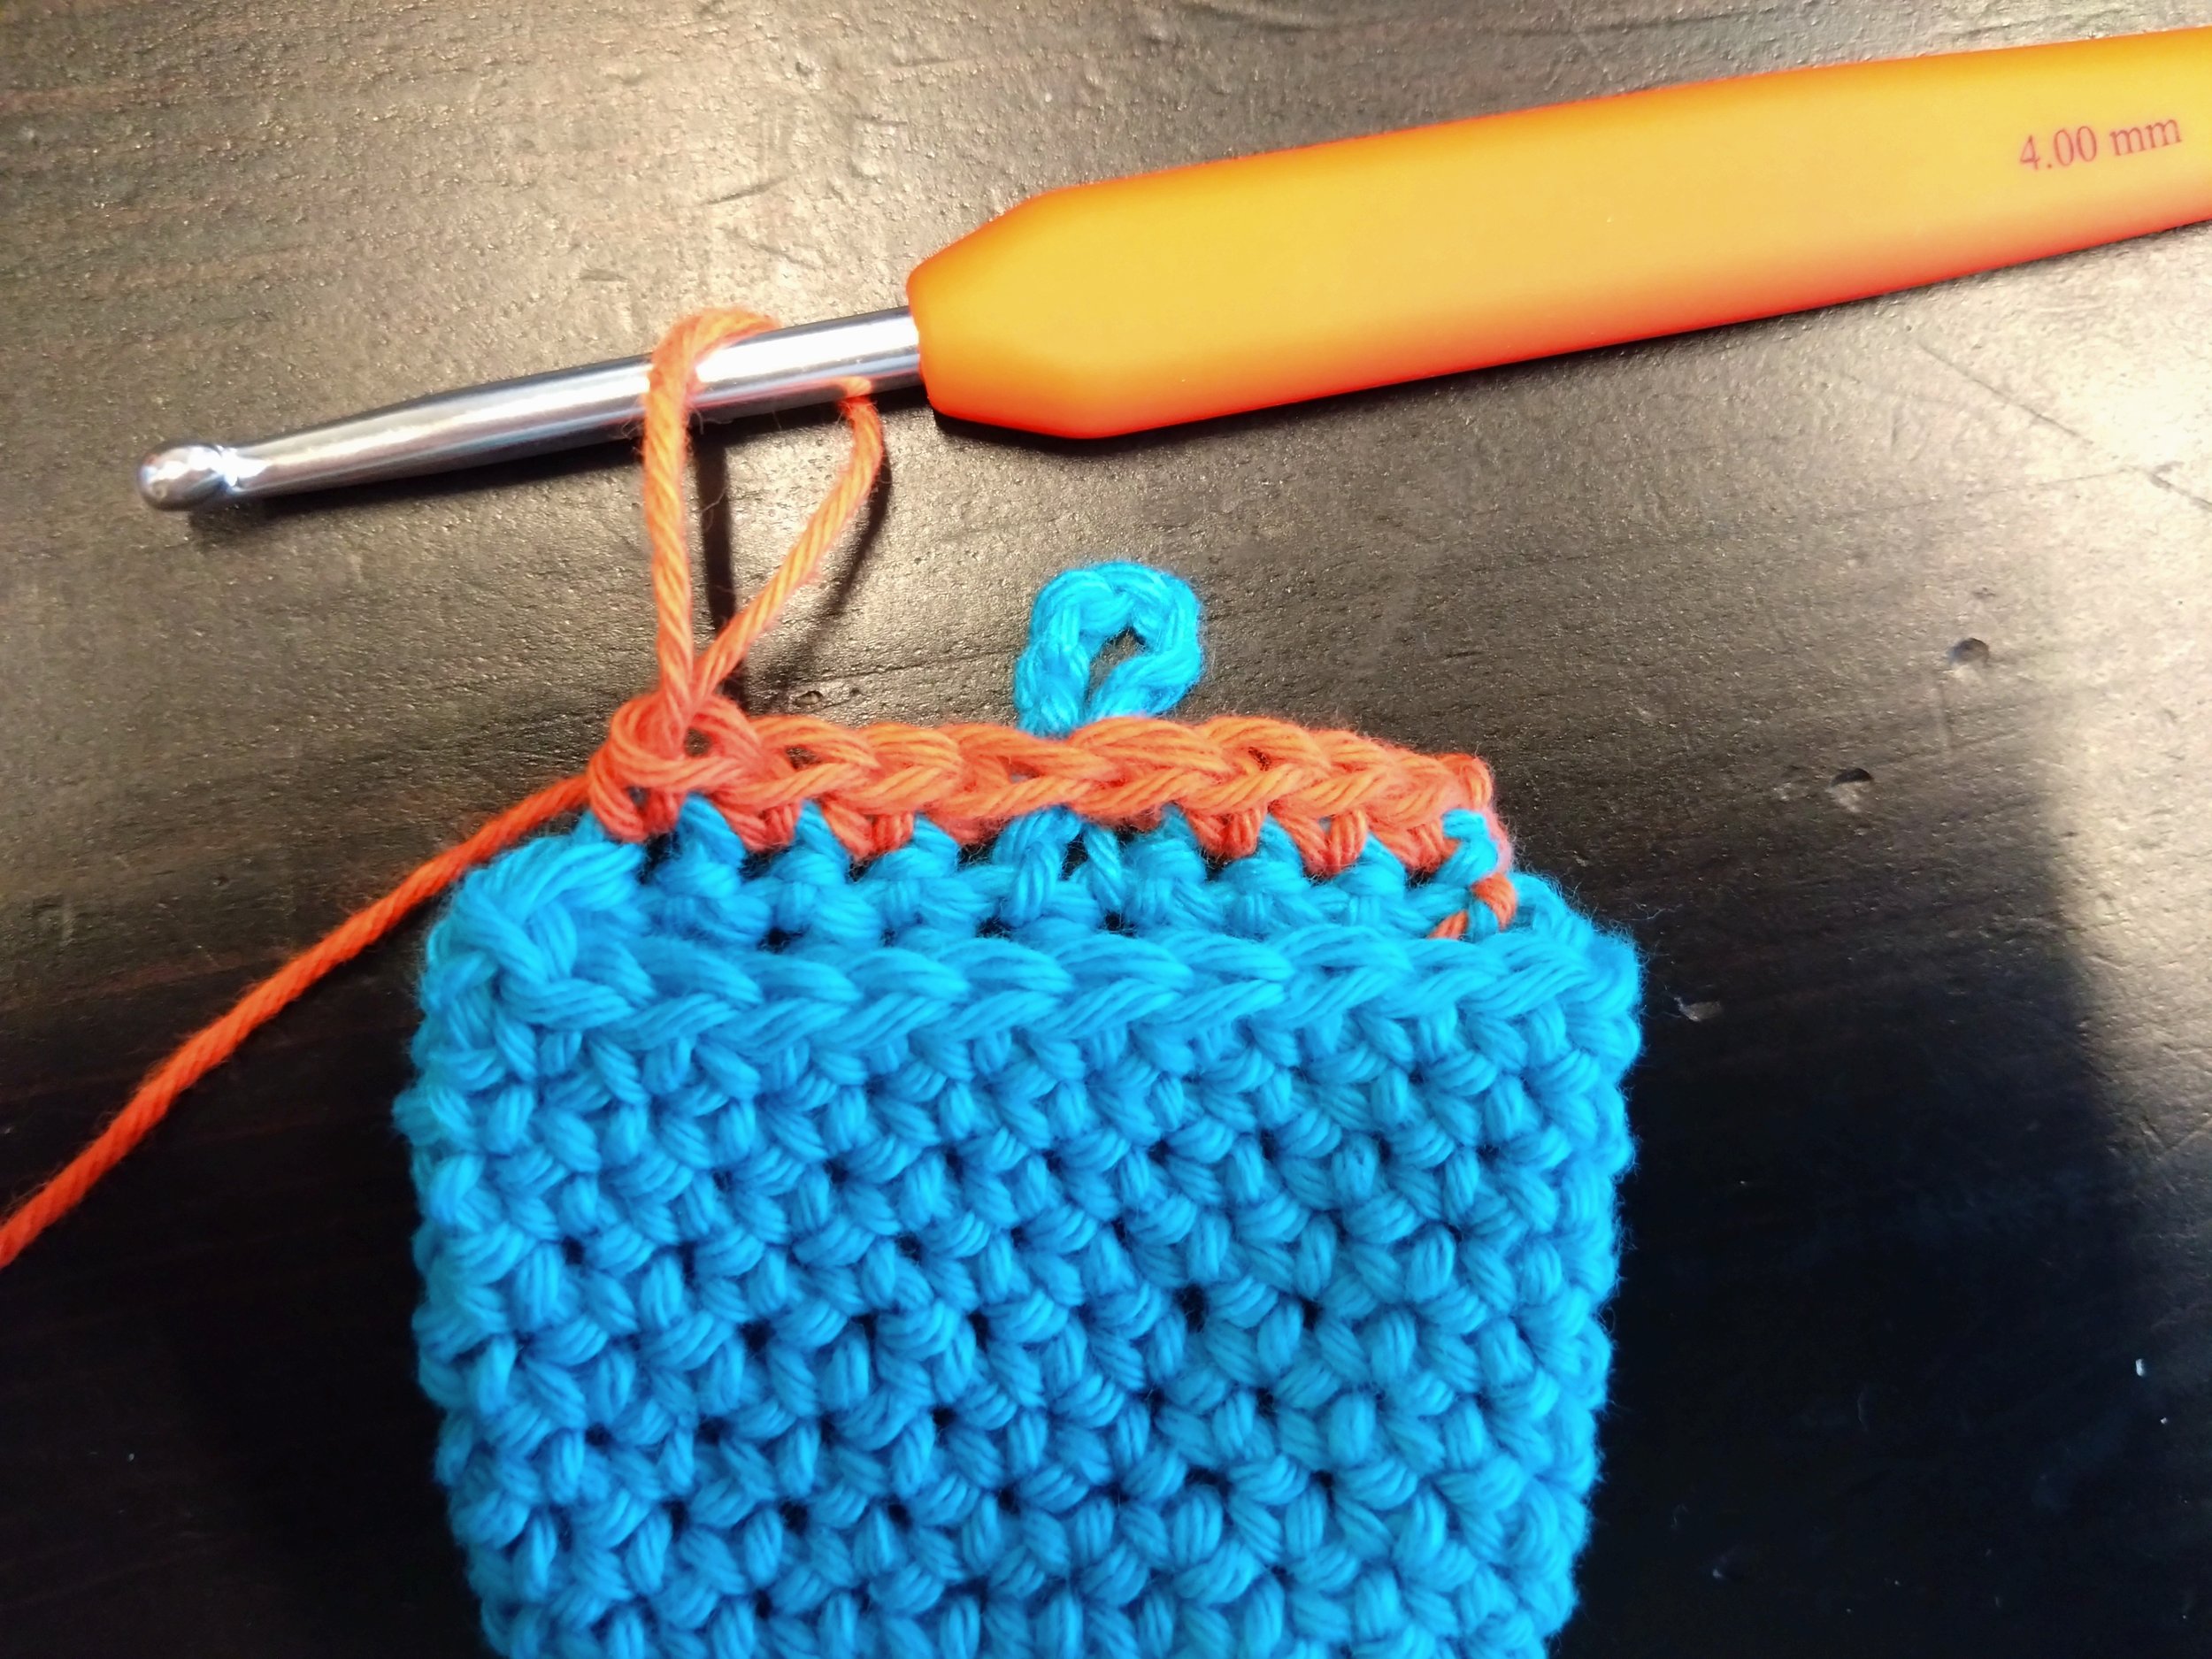
First of all: if you want to use a different colour for the flap, switch colours during the last stitch of round 12!
For the flap, we will be working in rows again and going back and forth, just like we did in the first part of the crochet workshop. You can remove the stitch marker from your work as this is no longer strictly necessary.
Row 1: chain 1 (possibly with a new colour). Flip the pouch so that you are facing the front of the flap, with the loop on the back. hen sc 8. Make sure that the loop is behind your new stitches, so that the loop stays on the outside of the patch:

Row 2 – 7: chain 1. Flip over work. Then sc 8. These rows are just normal back-and-forth crocheting, nothing special. :-)
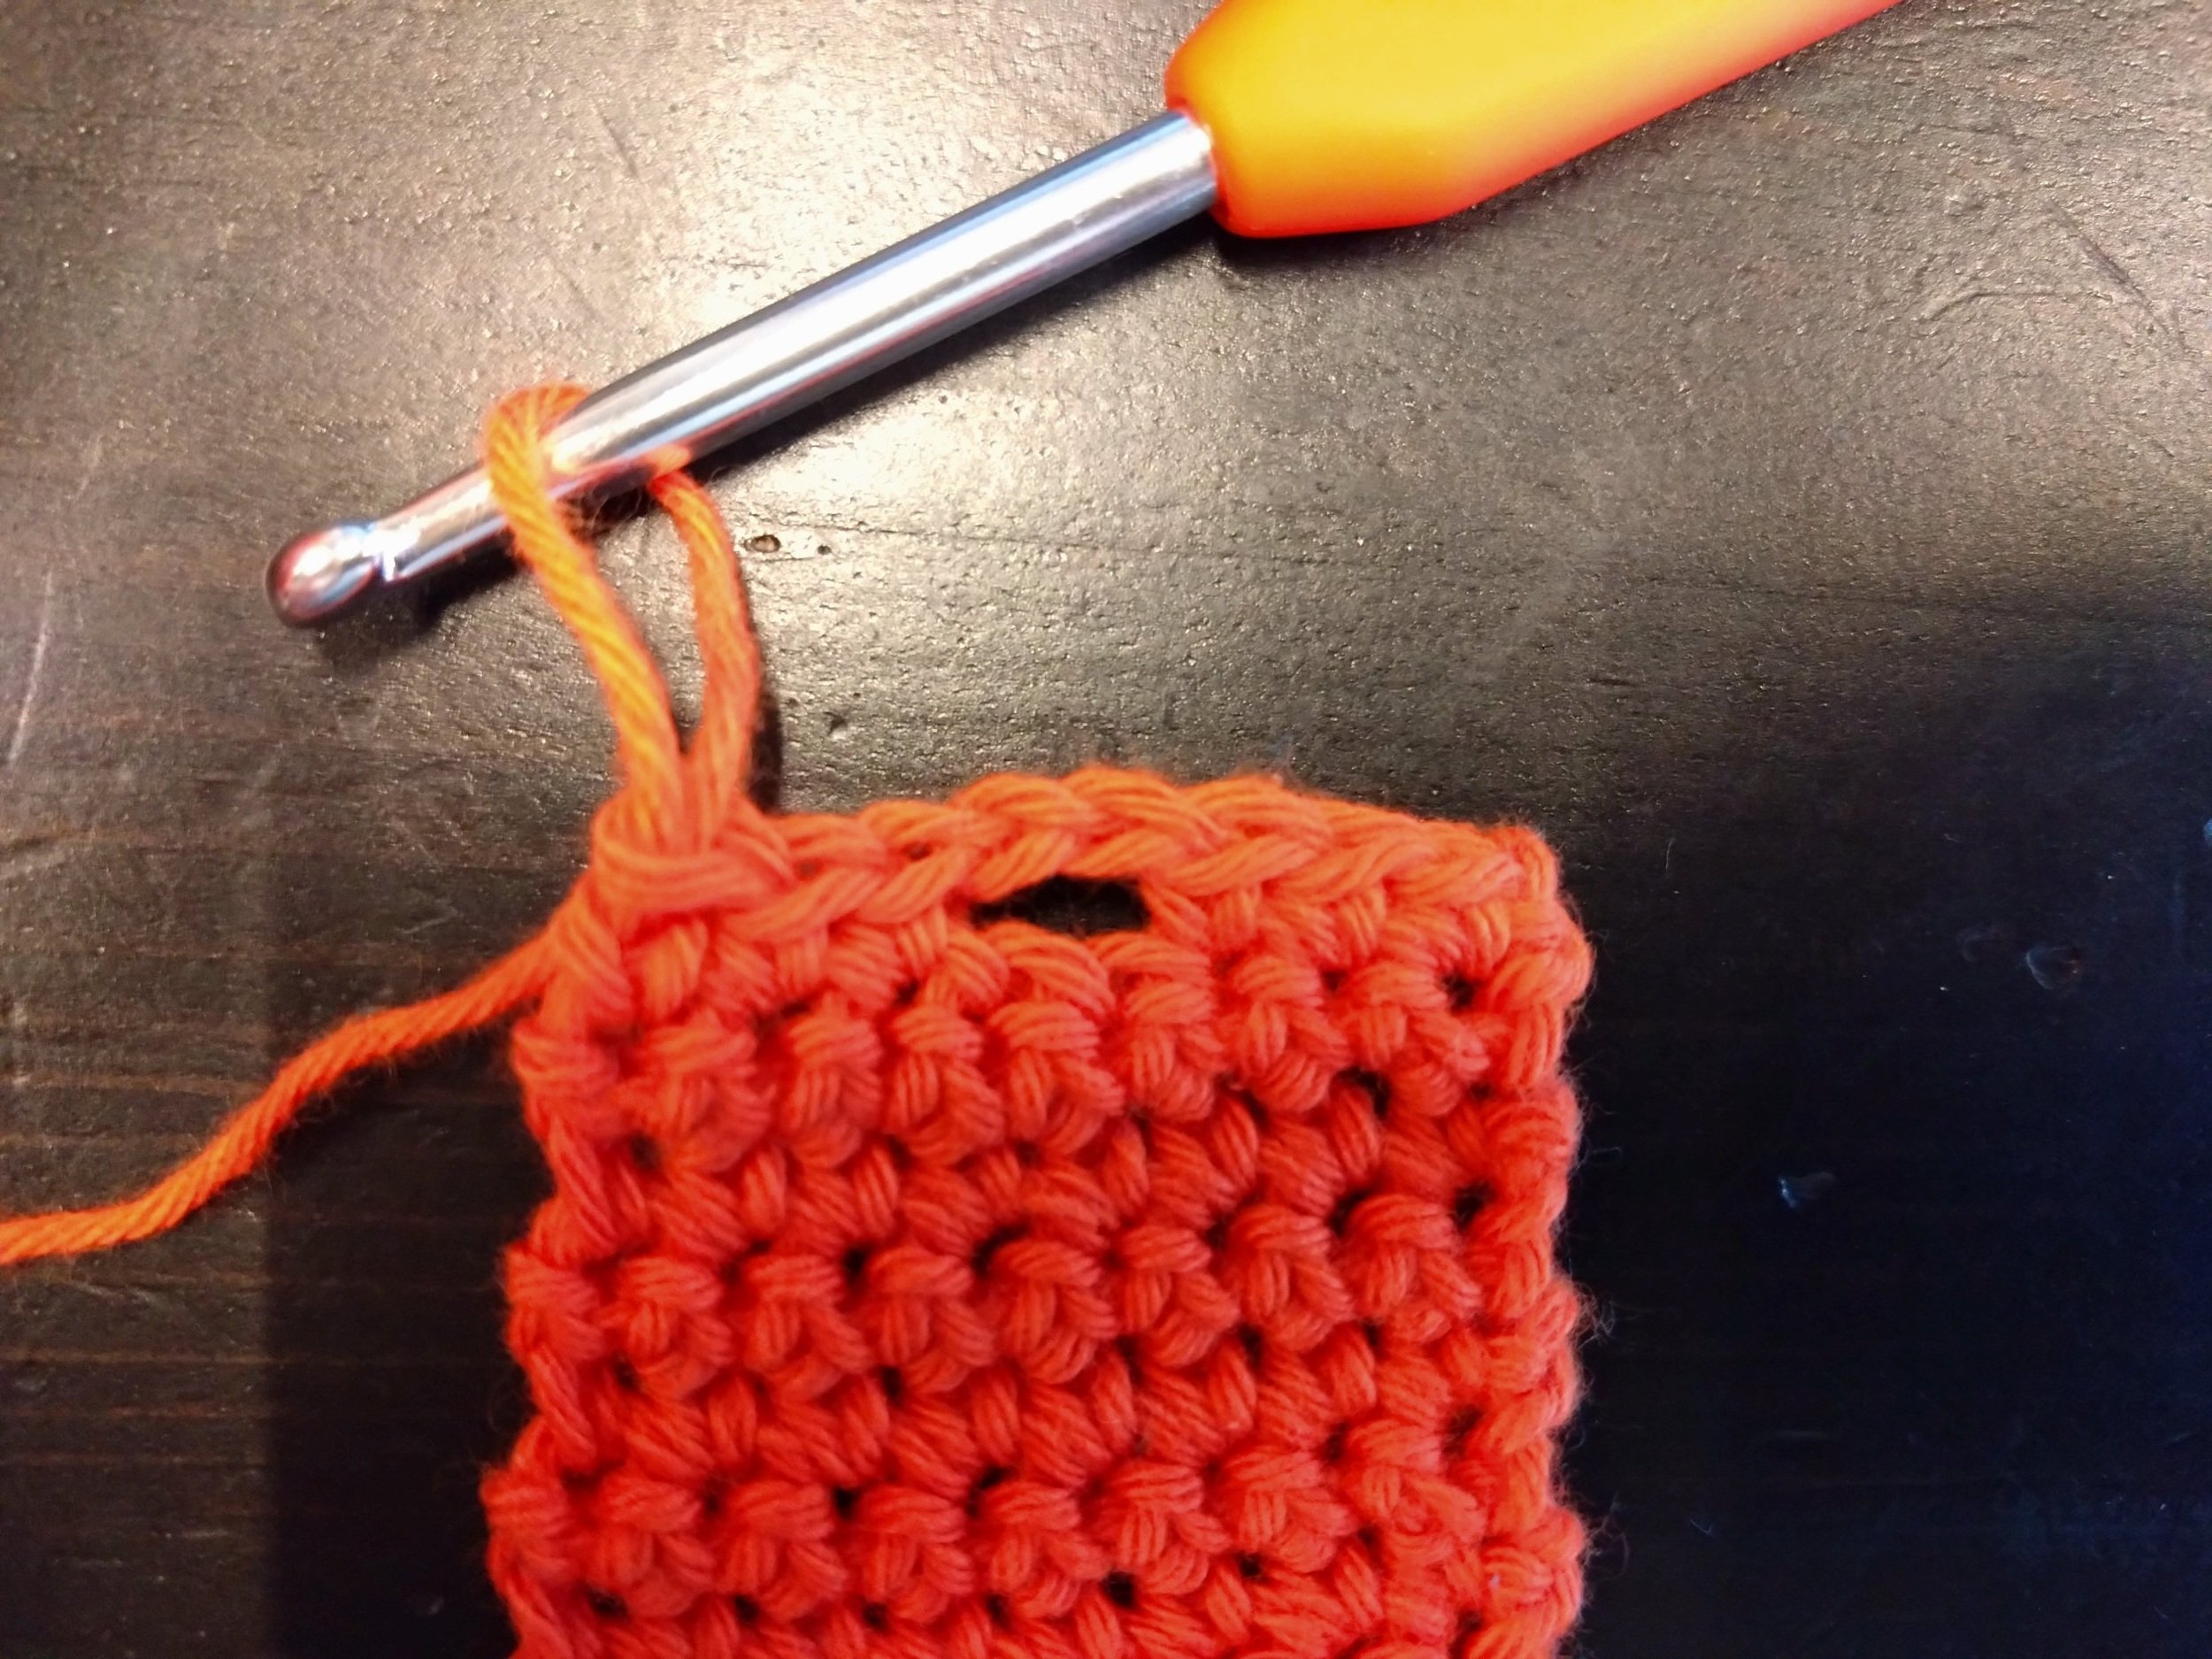
Row 8: chain 1. Flip over work. Sc 3. Then ch 2. Skip 2 stitches. Then sc 3. This way, you’ve left a little hole for the button that will be sewn on at the end.
Fancy ridge: continuing where you left of, sc down the side of the flap, along the edge of the pouch, and back up the side and top of the flap. Go around completely up until the corner where you started, then fasten off.

Finishing touches: get a button sewn on and the weave in the loose ends of yarn (ask Marit, Venise, Sel). All done!
Crochet pattern originally taught and provided by Eline.